
This week’s protective hairstyle was inspired by Ms Tammy. I don’t think I would be wrong in saying that she is the queen of natural hair style tutorials. Her tutorials are really easy to follow and her laid back attitude make anyone feel like they can confidently rock the same style as her even though most of us don’t have anywhere near as much hair as she does.

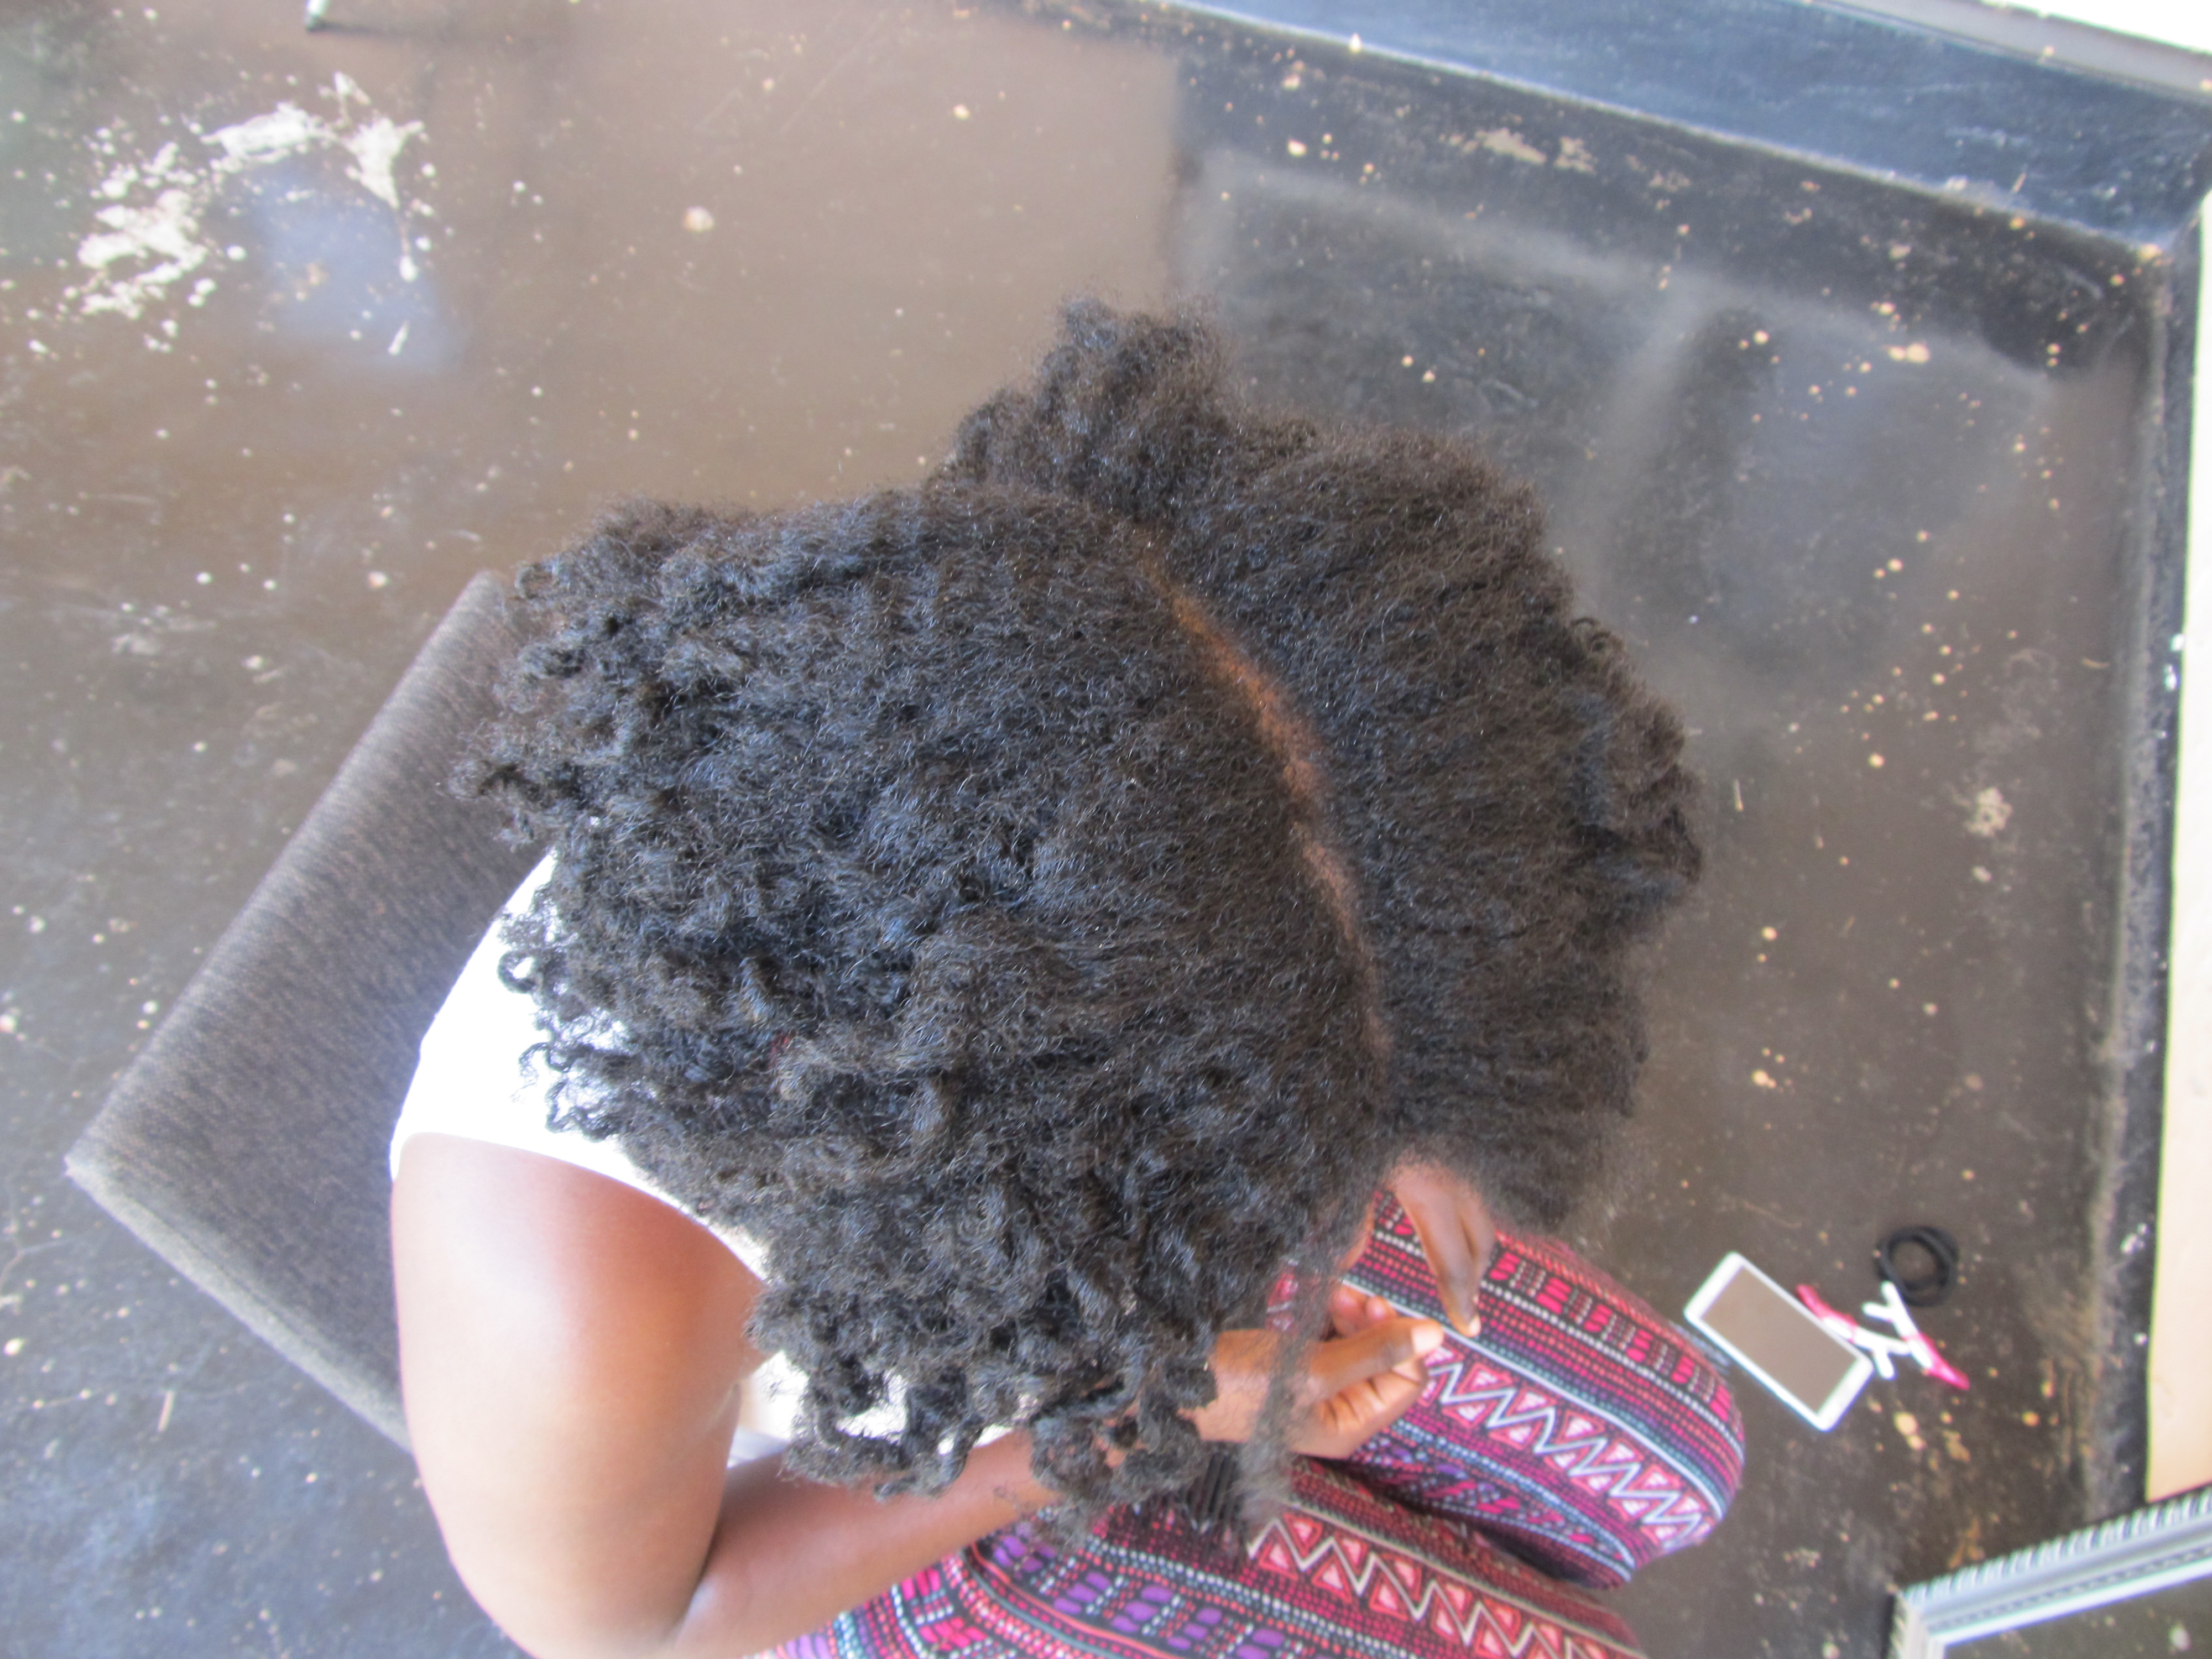
I unravelled the twists that I had last week on Saturday, ready to rock a twist out for an event that I attended on Sunday. I didn’t wash my hair this last weekend instead I refreshed it by spritzing with water, applying leave in and sealing with Shea butter. My hair was still textured from the twist out.

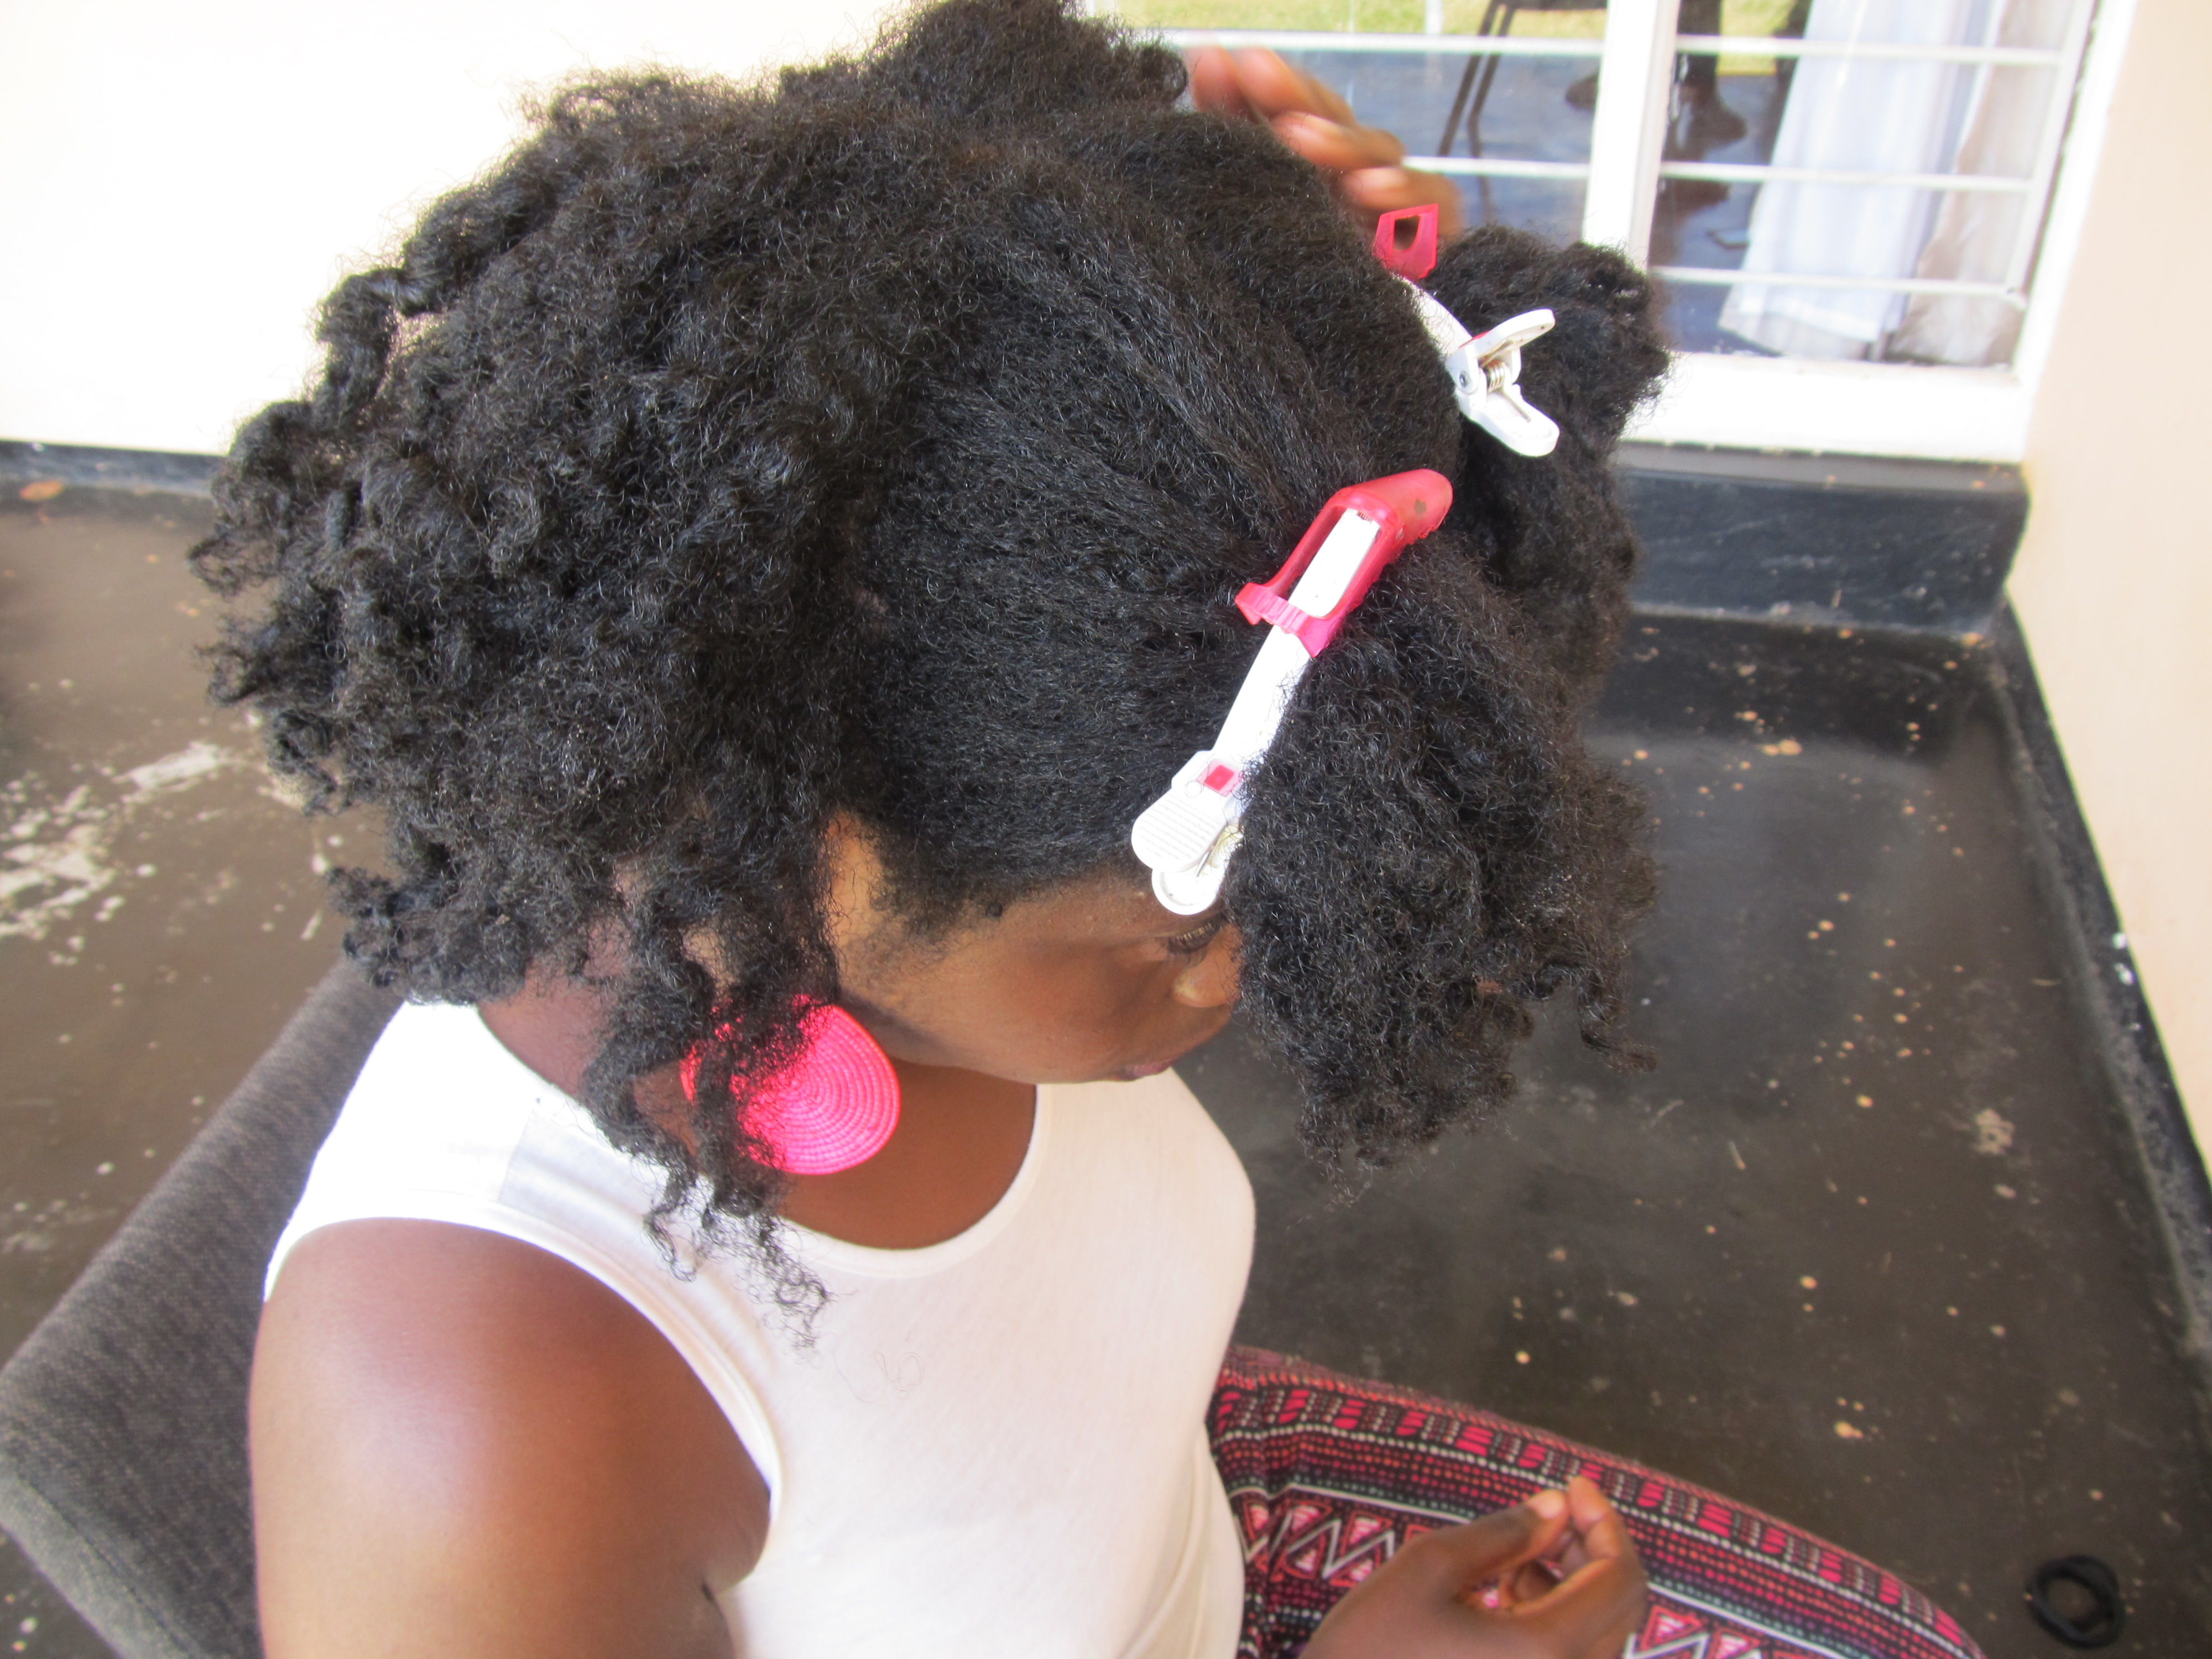
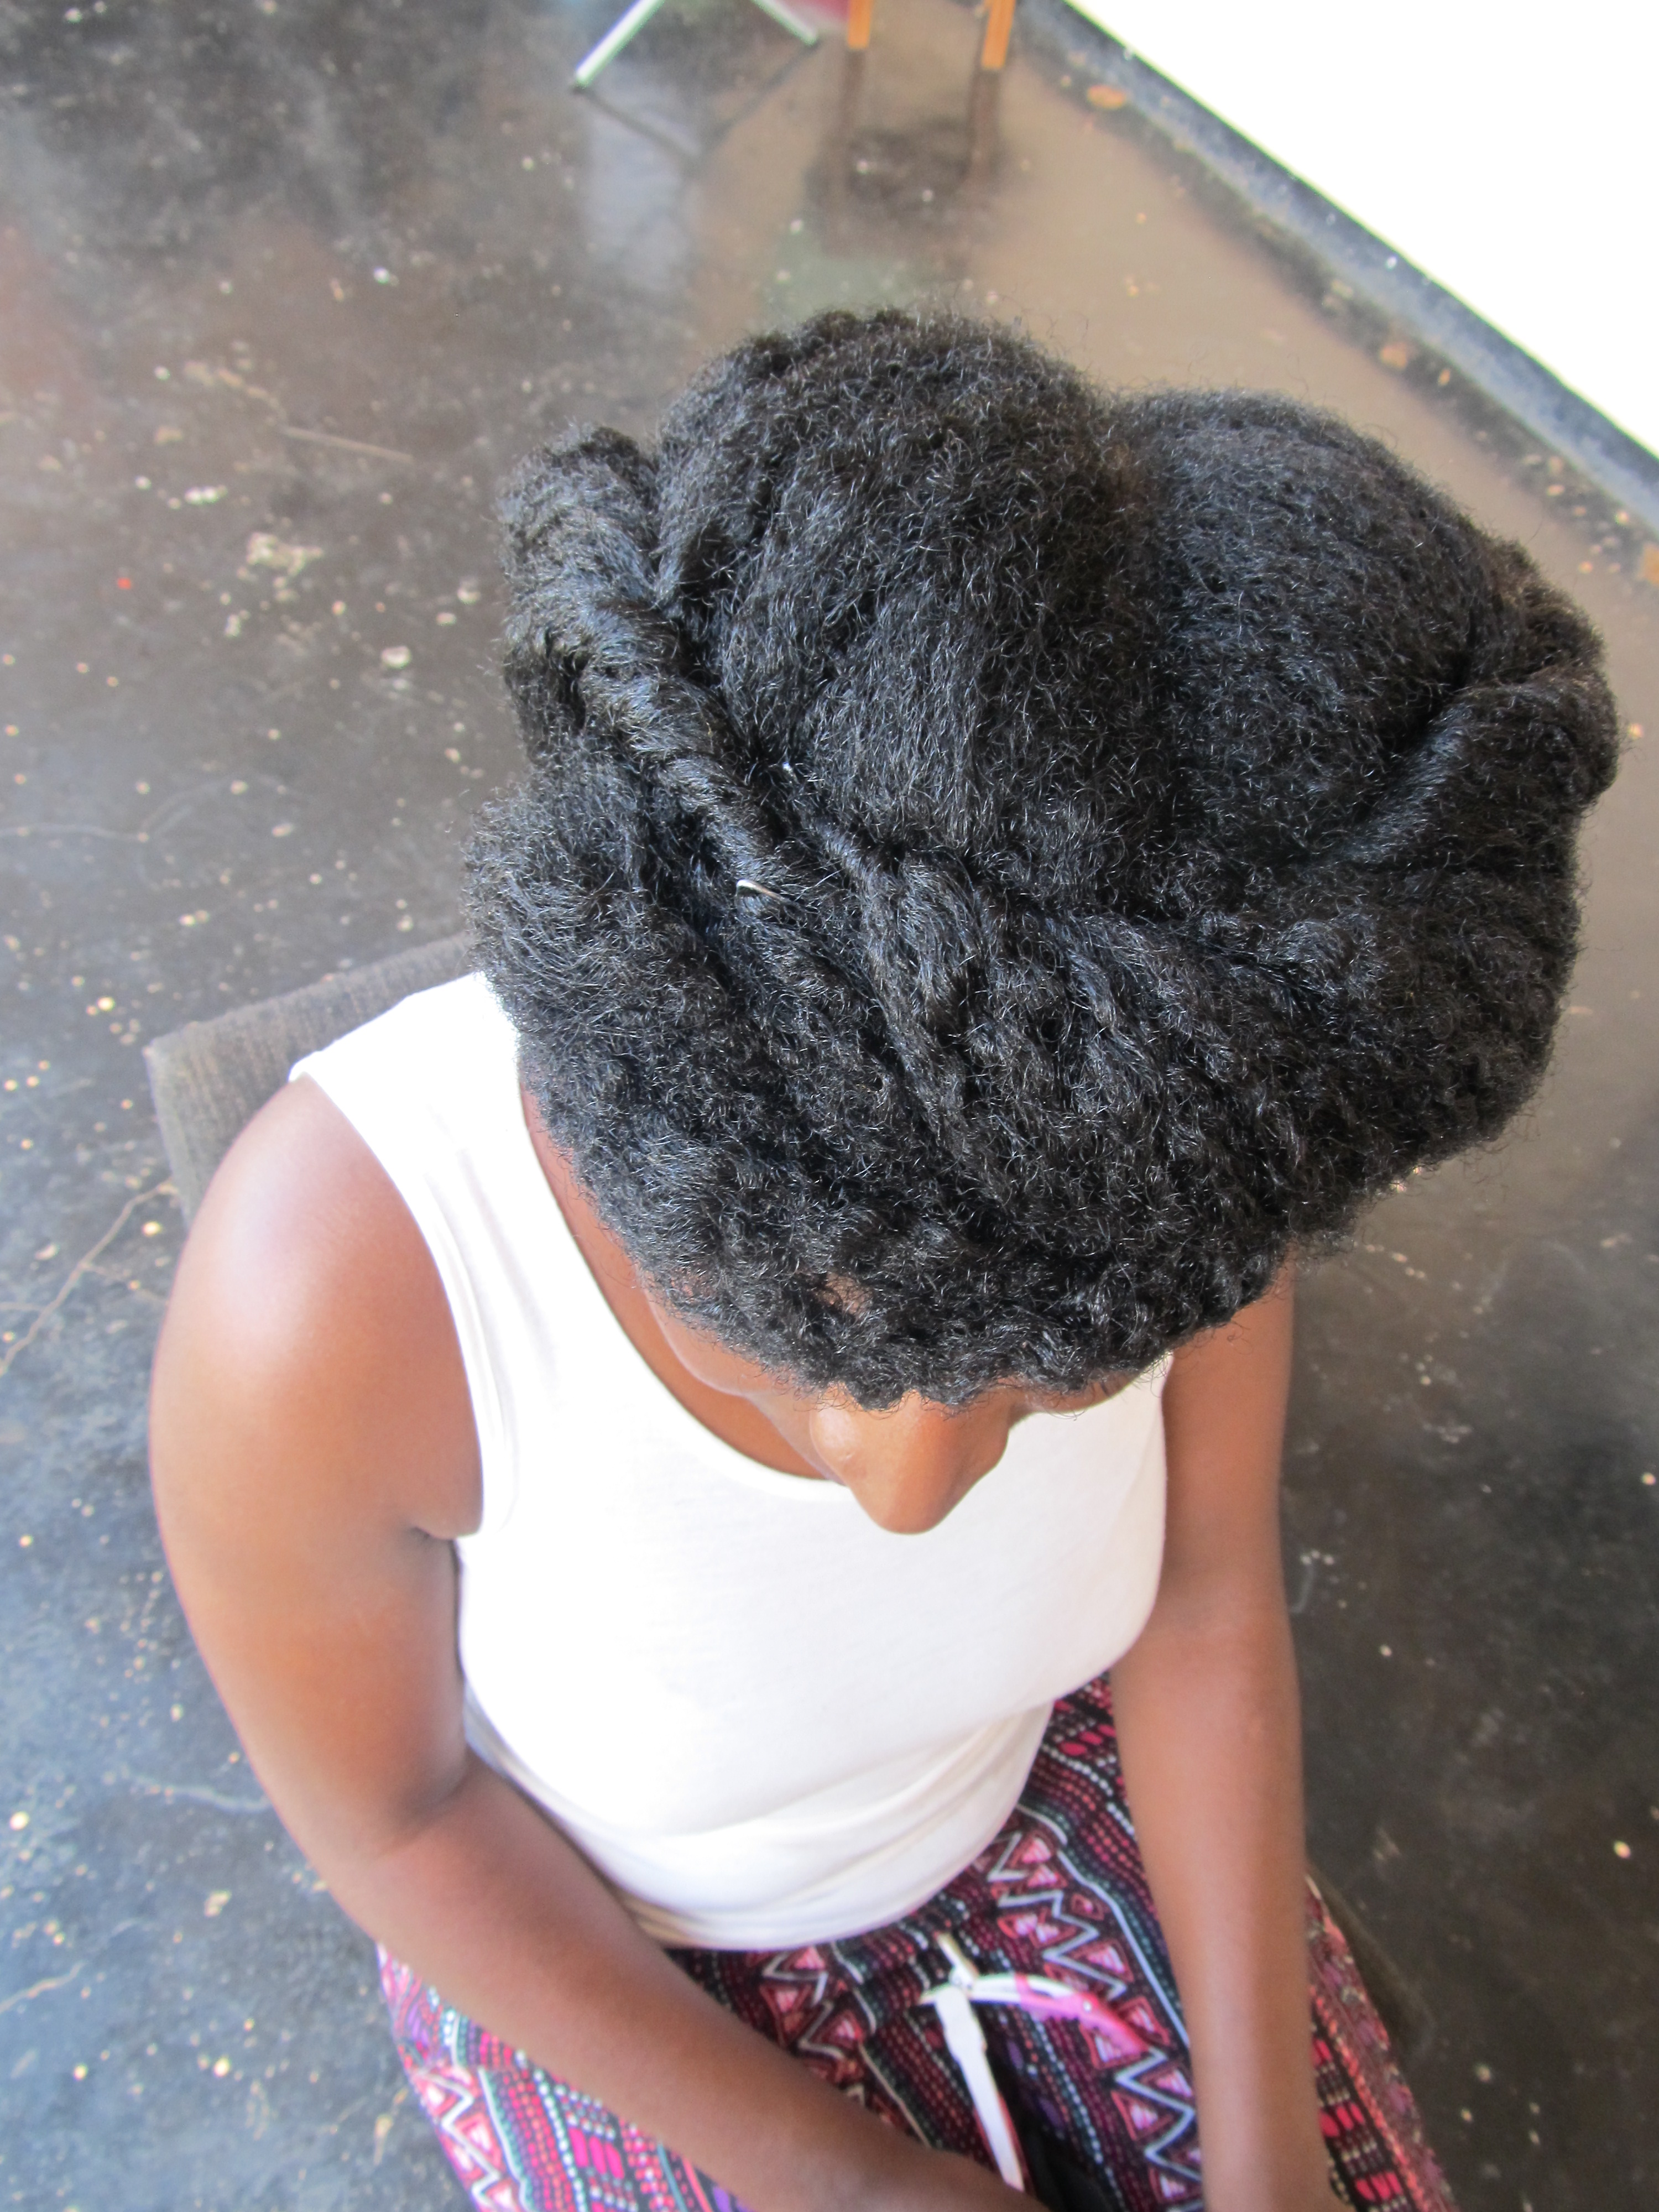
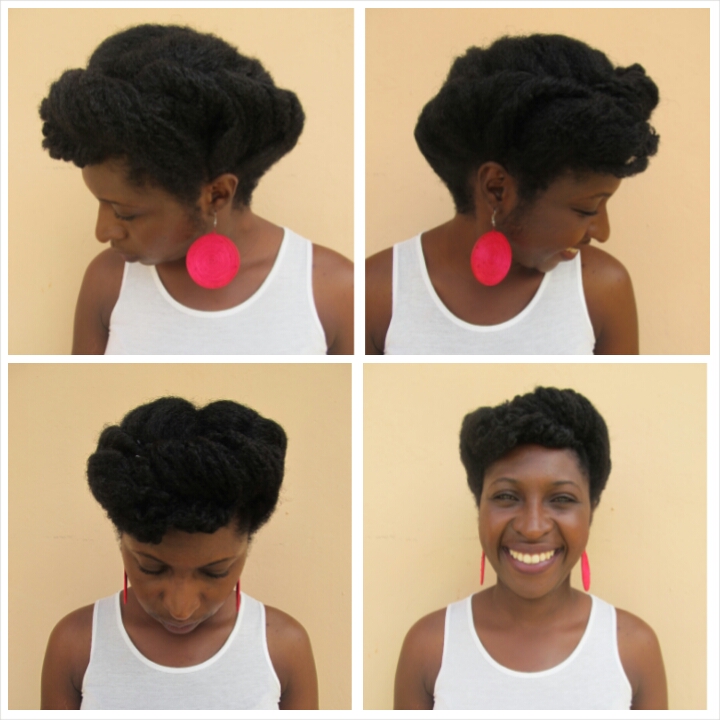
I roll tucked and pinned (RTP) the back and left ringlets at the front.
Step 1:
Part the hair down the middle and then part across from ear to ear. Clip the two front sections away.
Step 2:
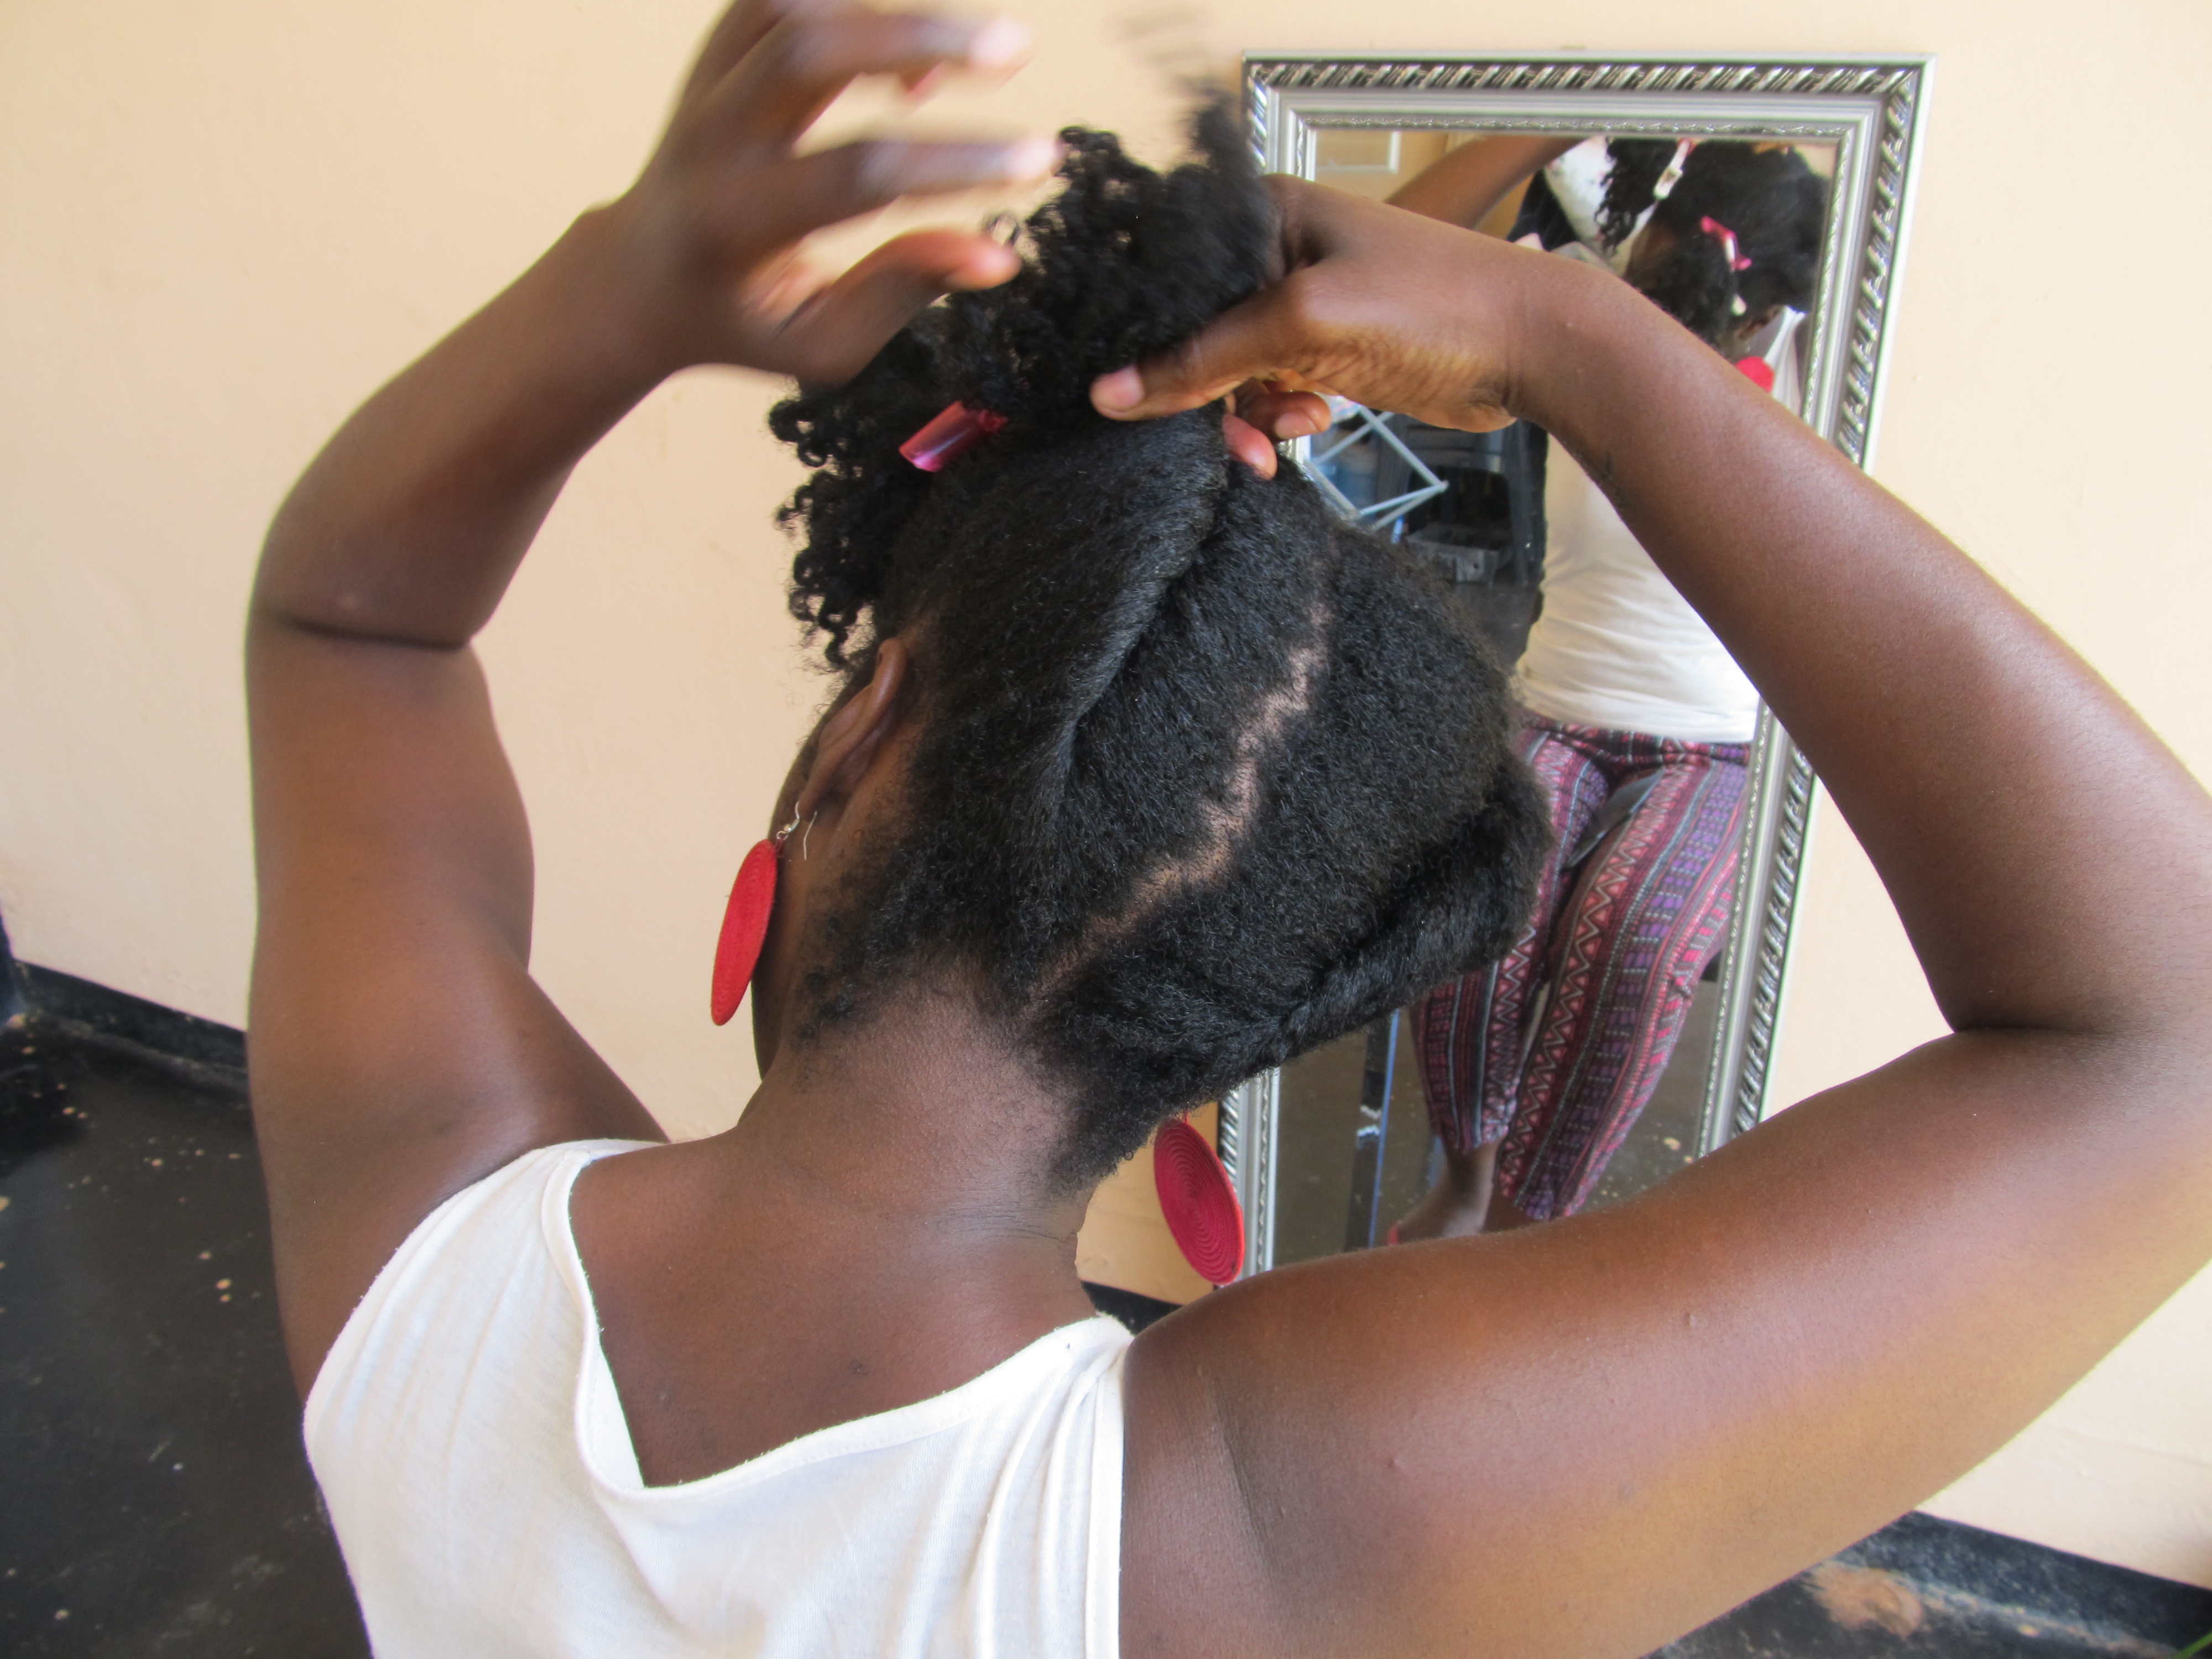
Start your first roll from back to front. Don’t worry about how neat it is at this point, you can always secure it further with bobby pins at the end. Secure the hair so that it doesn’t unravel and roll the other side.
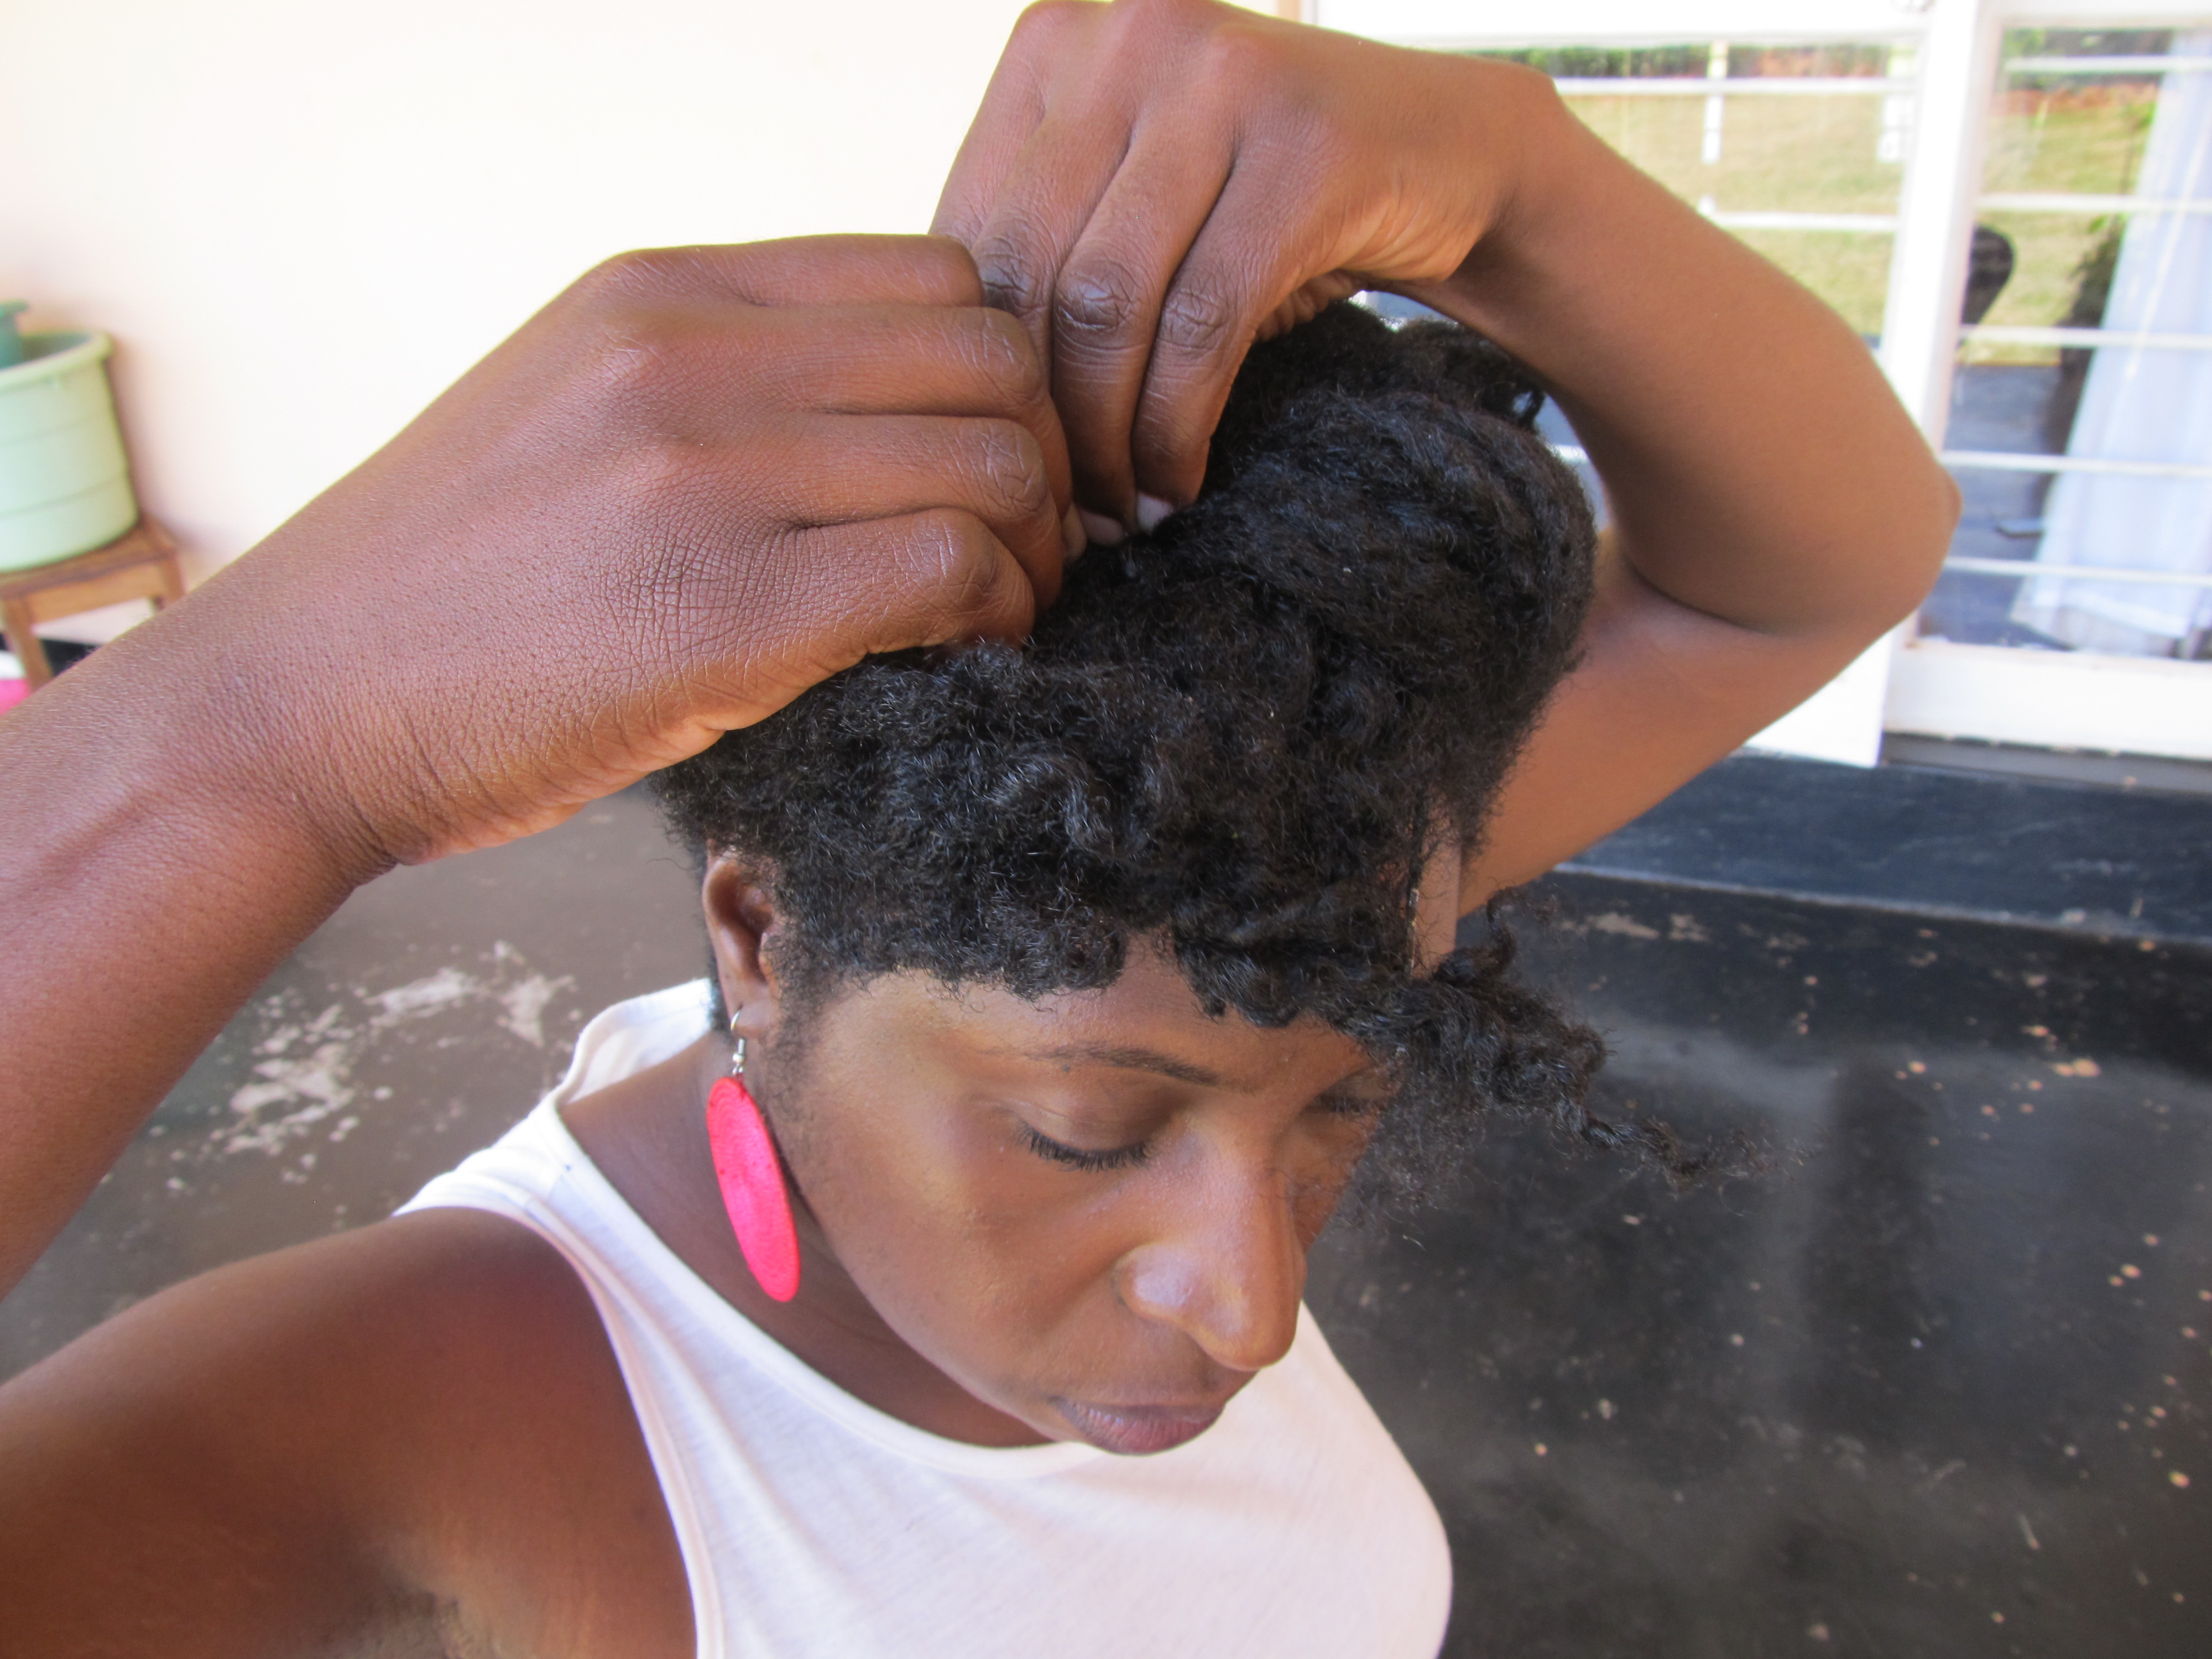
Roll the sections of your hair from the ear to the front and pin them in place to create a pompadour that comes down towards your forehead.
Step 4:
Pin the ends of the back sections behind the hair in the pompadour. Play around with the hair in the front to create the desired shape.
And there it is, my style for the week.

We are able to make small self inking full-colour stamps which can be suitable
for multiple general function uses at house or at work.
LikeLike
Pingback: Protective Style Challenge: Week 14; Chain of Twists | ZedHair·
Pingback: Protective Style Challenge: Week 42; Petal Puff | ZedHair·
Pingback: Protective Style Challenge: Week 42; Petal Puff | ZedHair·