
If you recall, my Day 1 and 2 styles were two strand twists (TSTs). The next stage of TSTs is a twist out. So on Day 3 and 4 I wore a basic twist out side do and a textured roll, tuck & pin (RTP) updo.
Basic Twist Out
I unravelled the TSTs, took a bobby pin and secured some hair to the side. That’s it. if you look closely, you will find that it is basically the same as Day 2, except without the accessory. Because the twists are down, the hair is also much fuller.
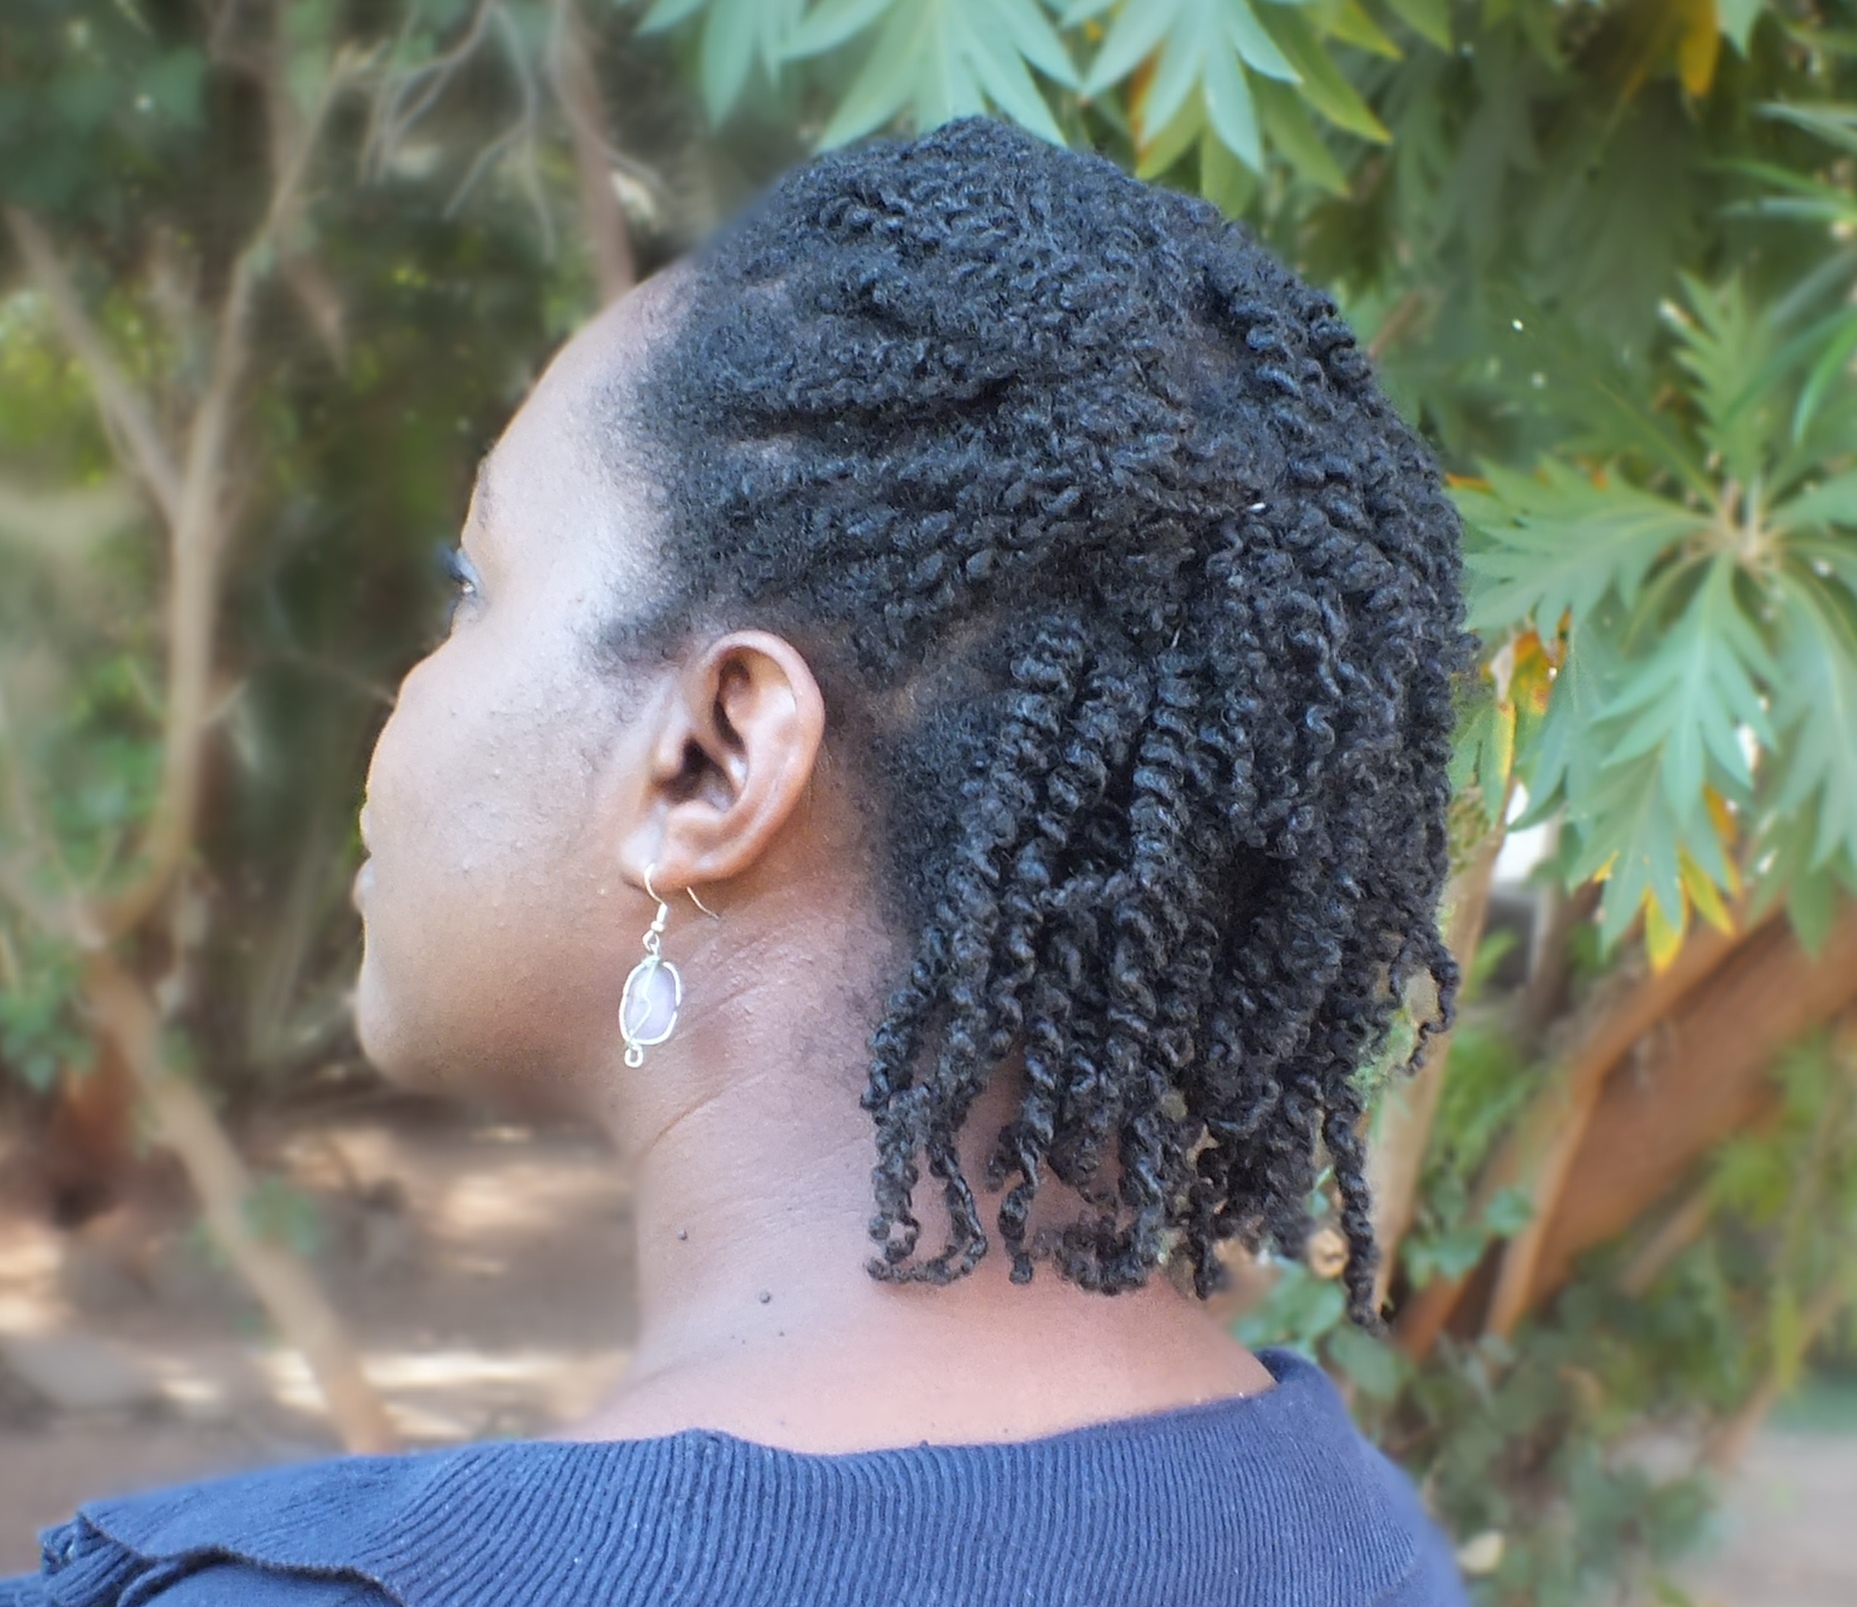
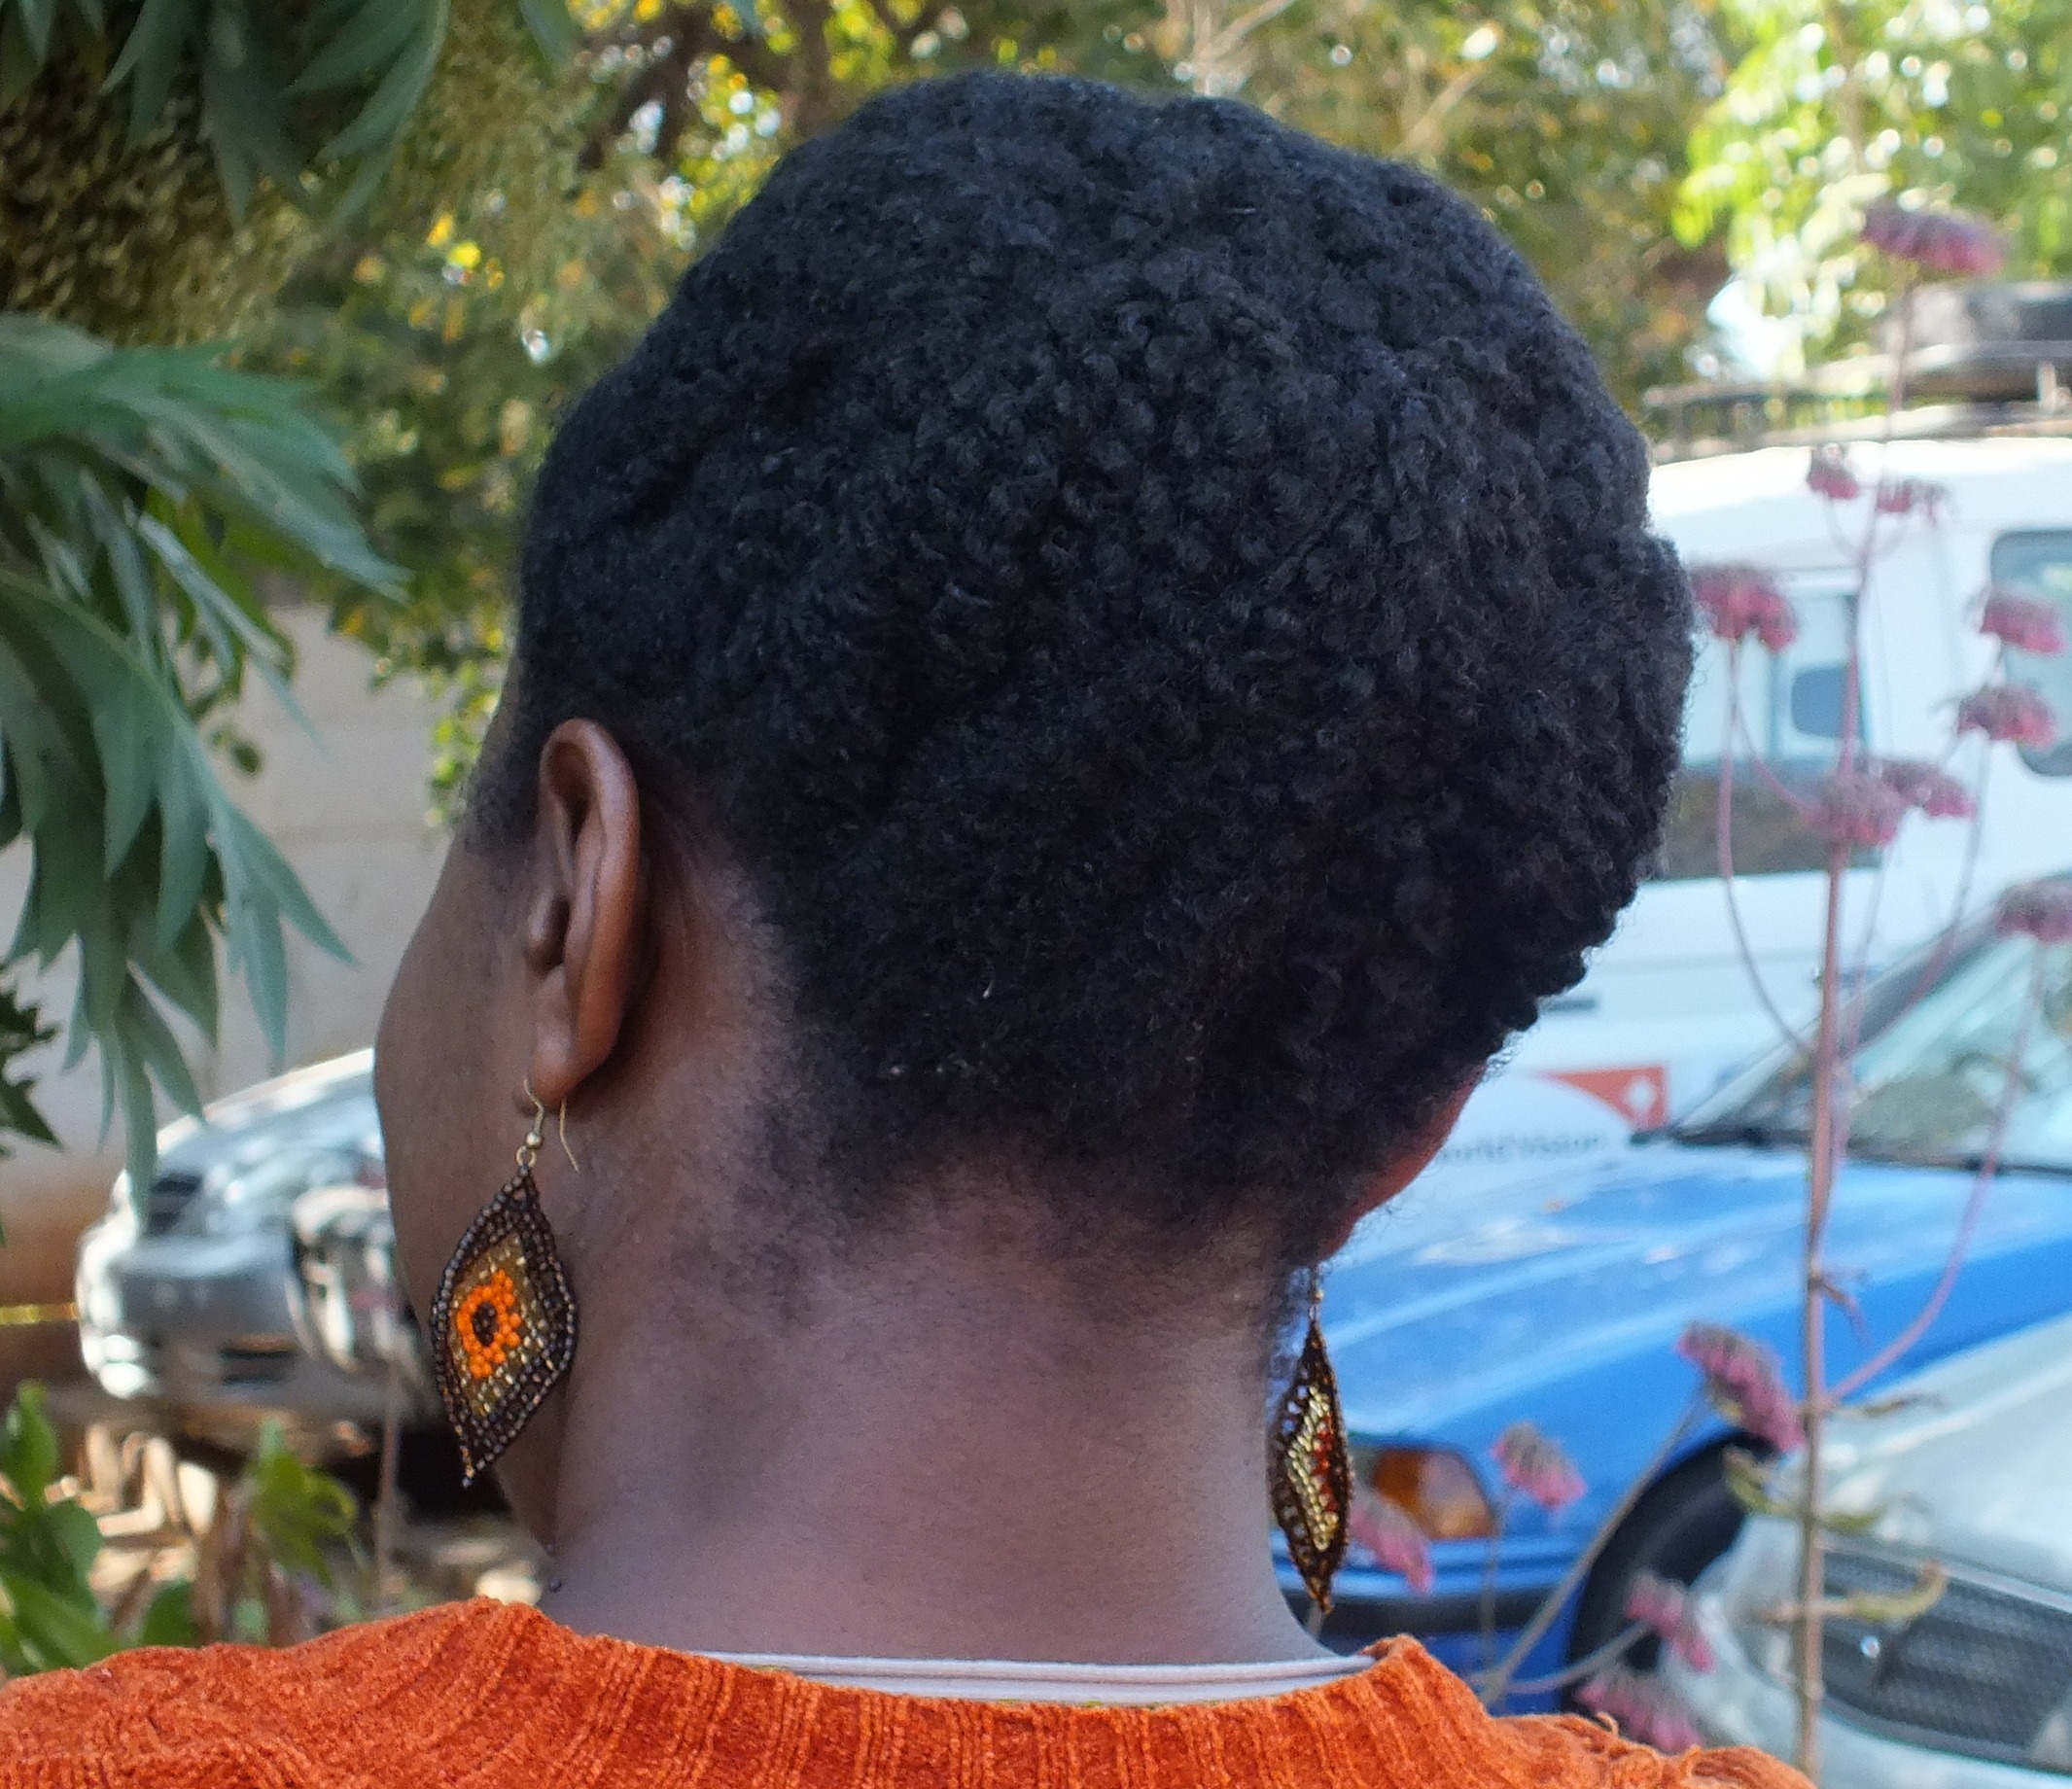
Day 3 – Twist out ‘side do’
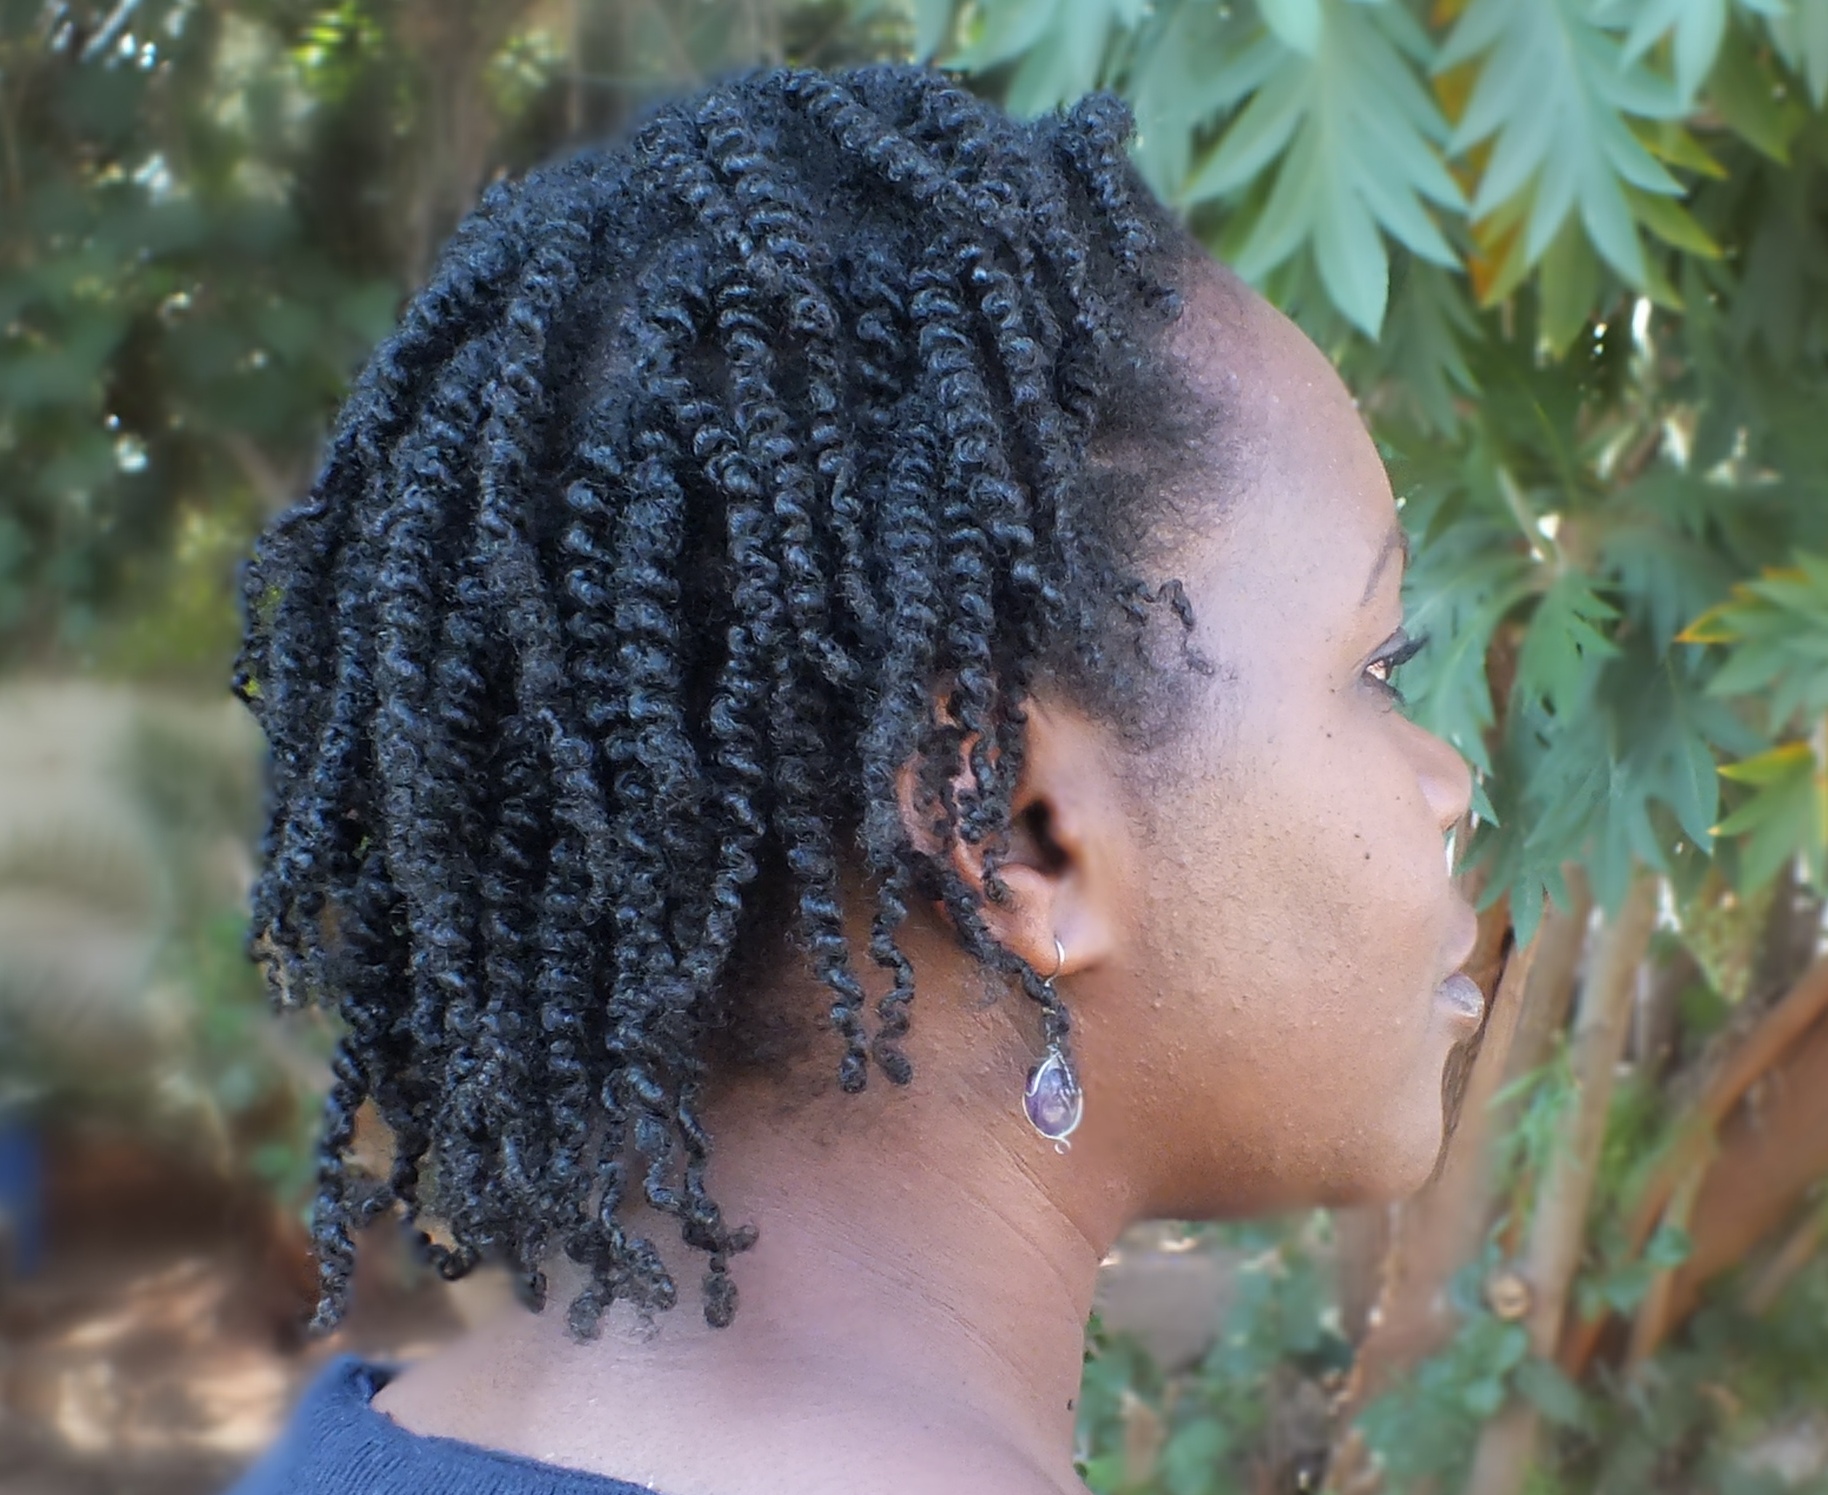
Day 3 – Twist out. This is the free side where you can really see the definition clearly
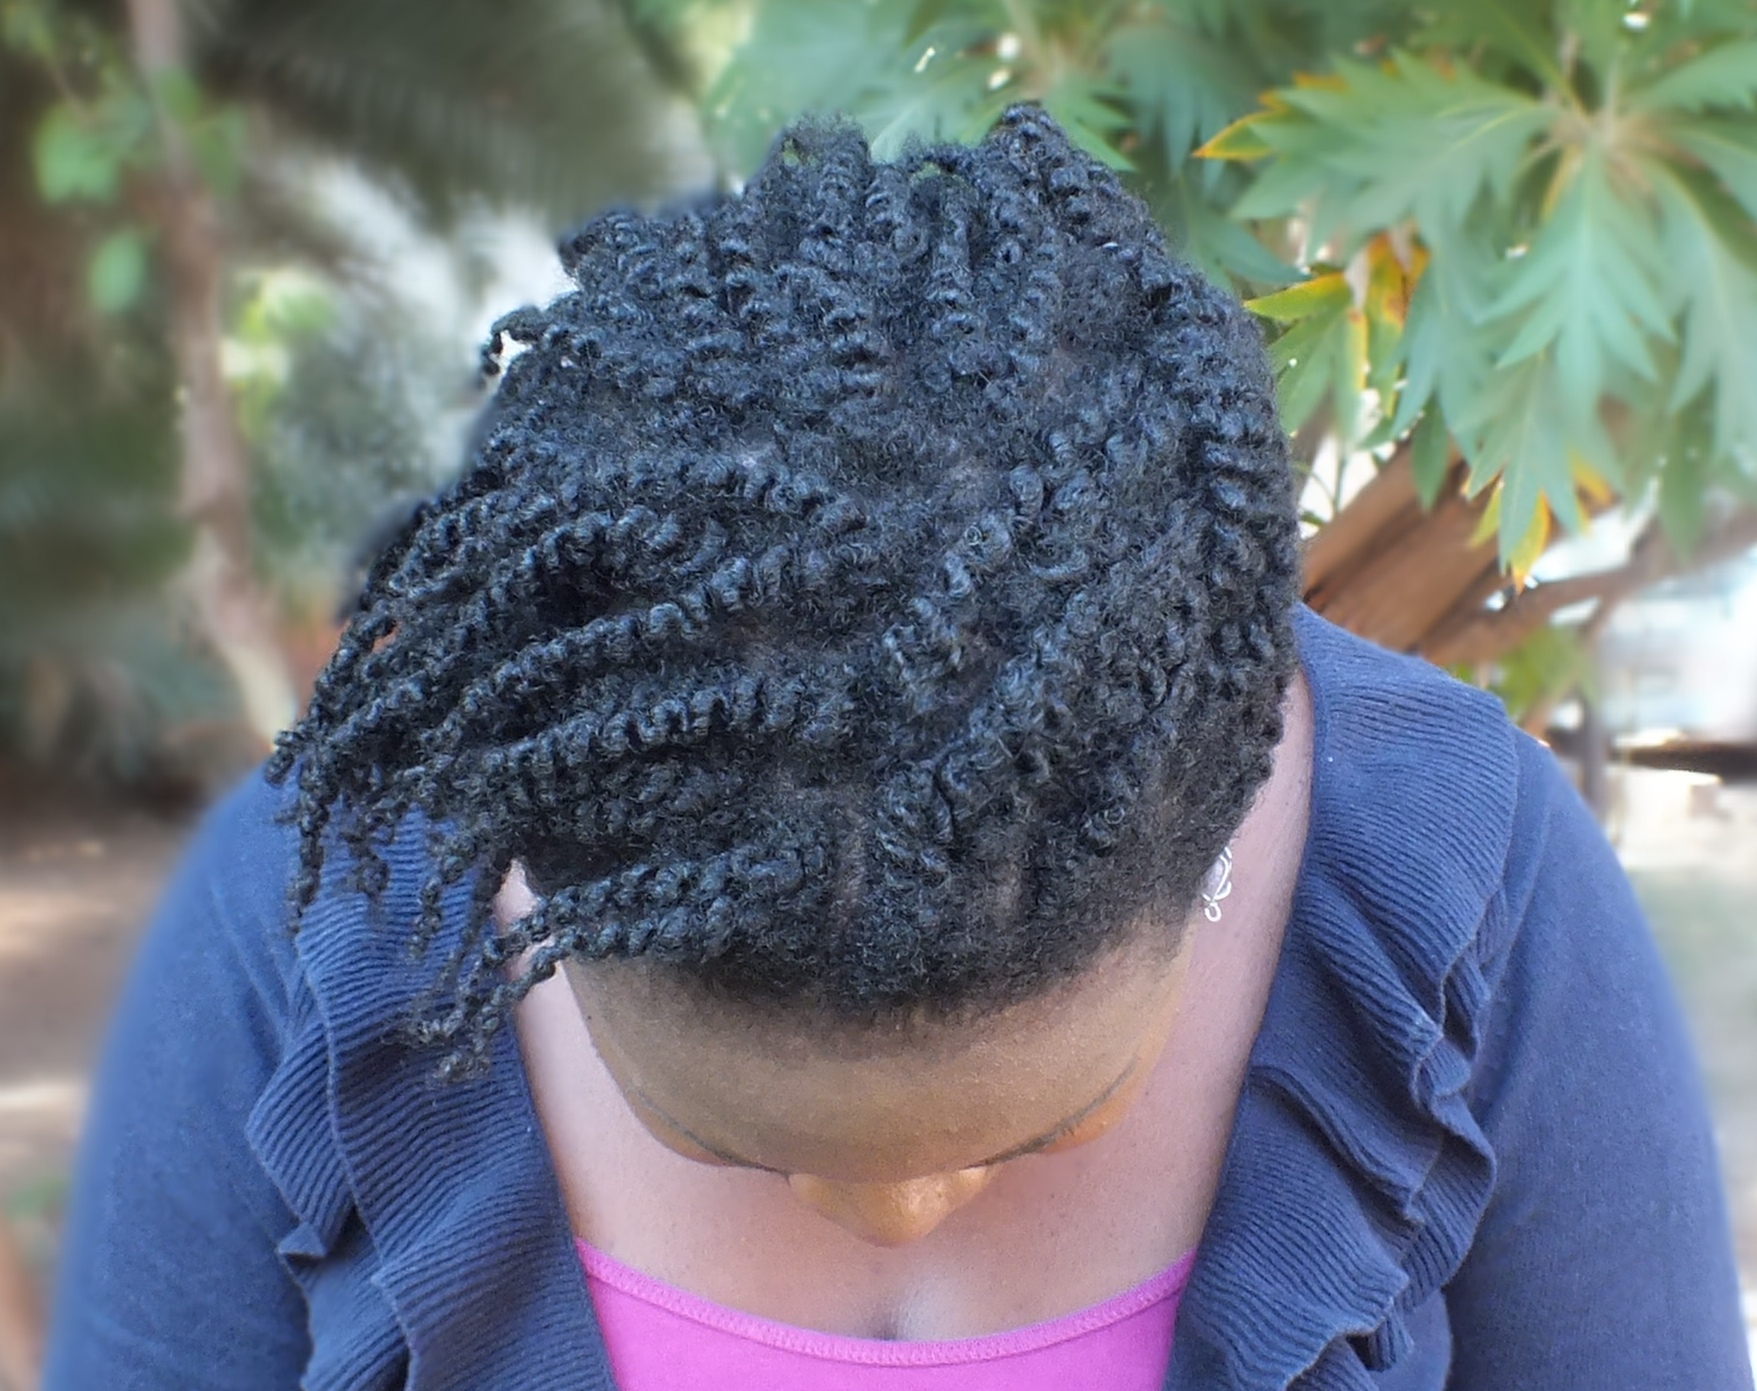
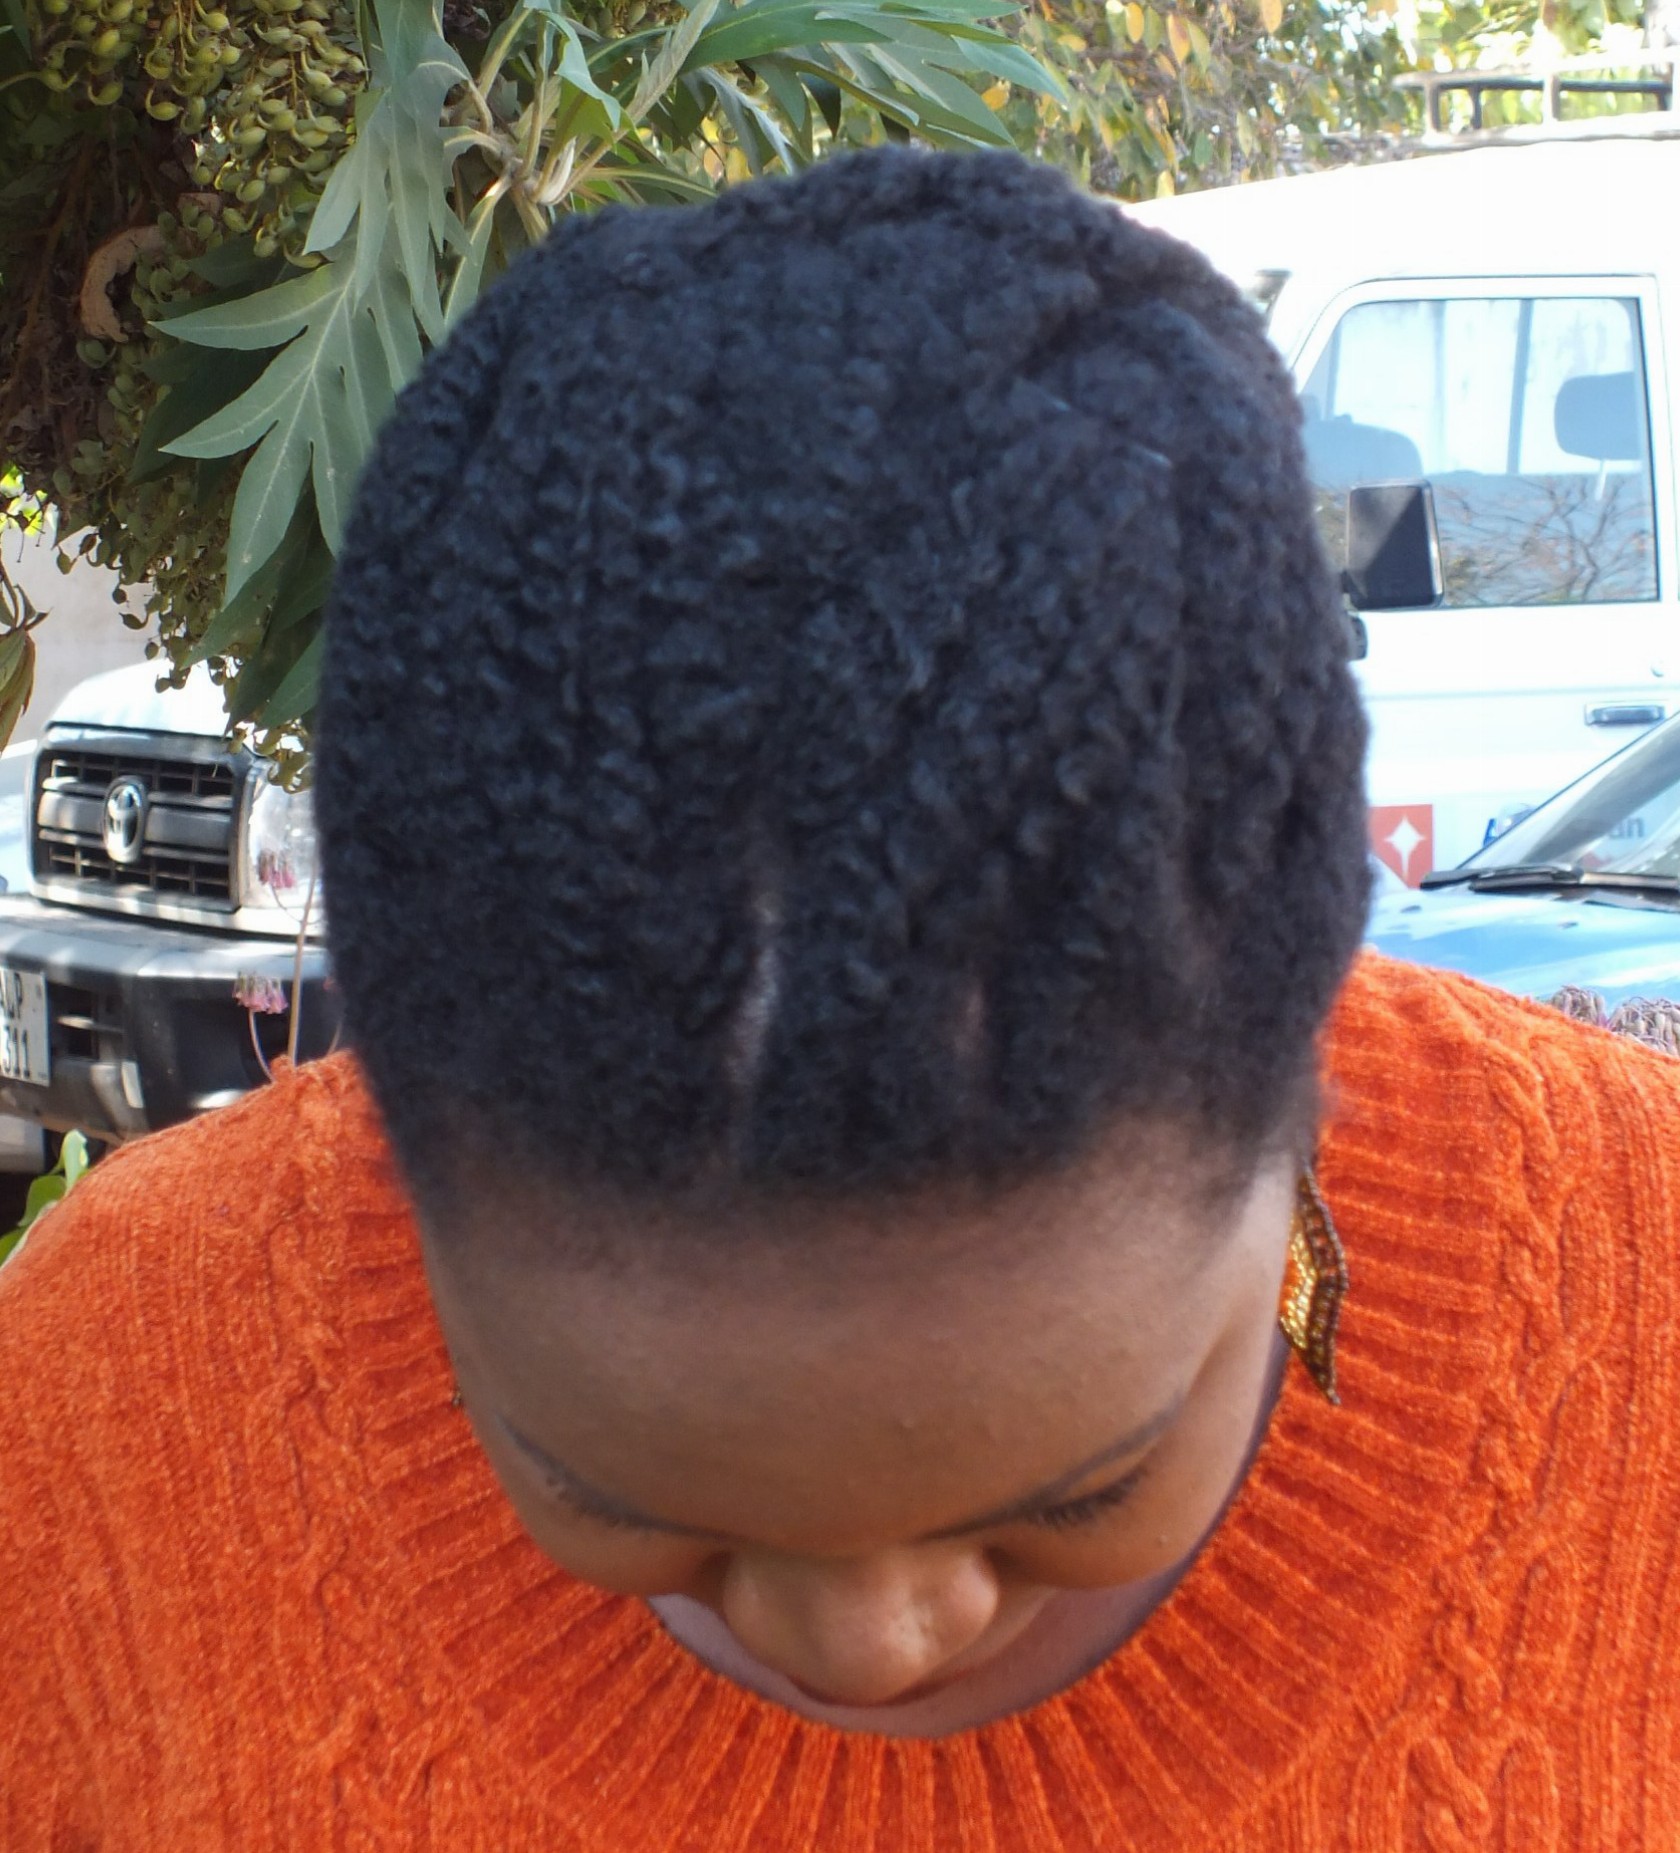
Day 3 – Twist out top view

Day 3 – Twist out ‘side do’
Textured RTP
The following day, being Day 4, I decided to do my absolute favourite twist out style which is a textured RTP. What is a textured RTP? It is basically a regular ole RTP, but done on hair which is textured as in a twist out. The advantage of a textured RTP is that it is the texture of the hair that makes it look awesome, so the RTP aspect doesn’t need to be that fancy or complicated.
All I did was take medium to small sections of hair, tuck the ends under themselves and secure to the scalp using a bobby pin.
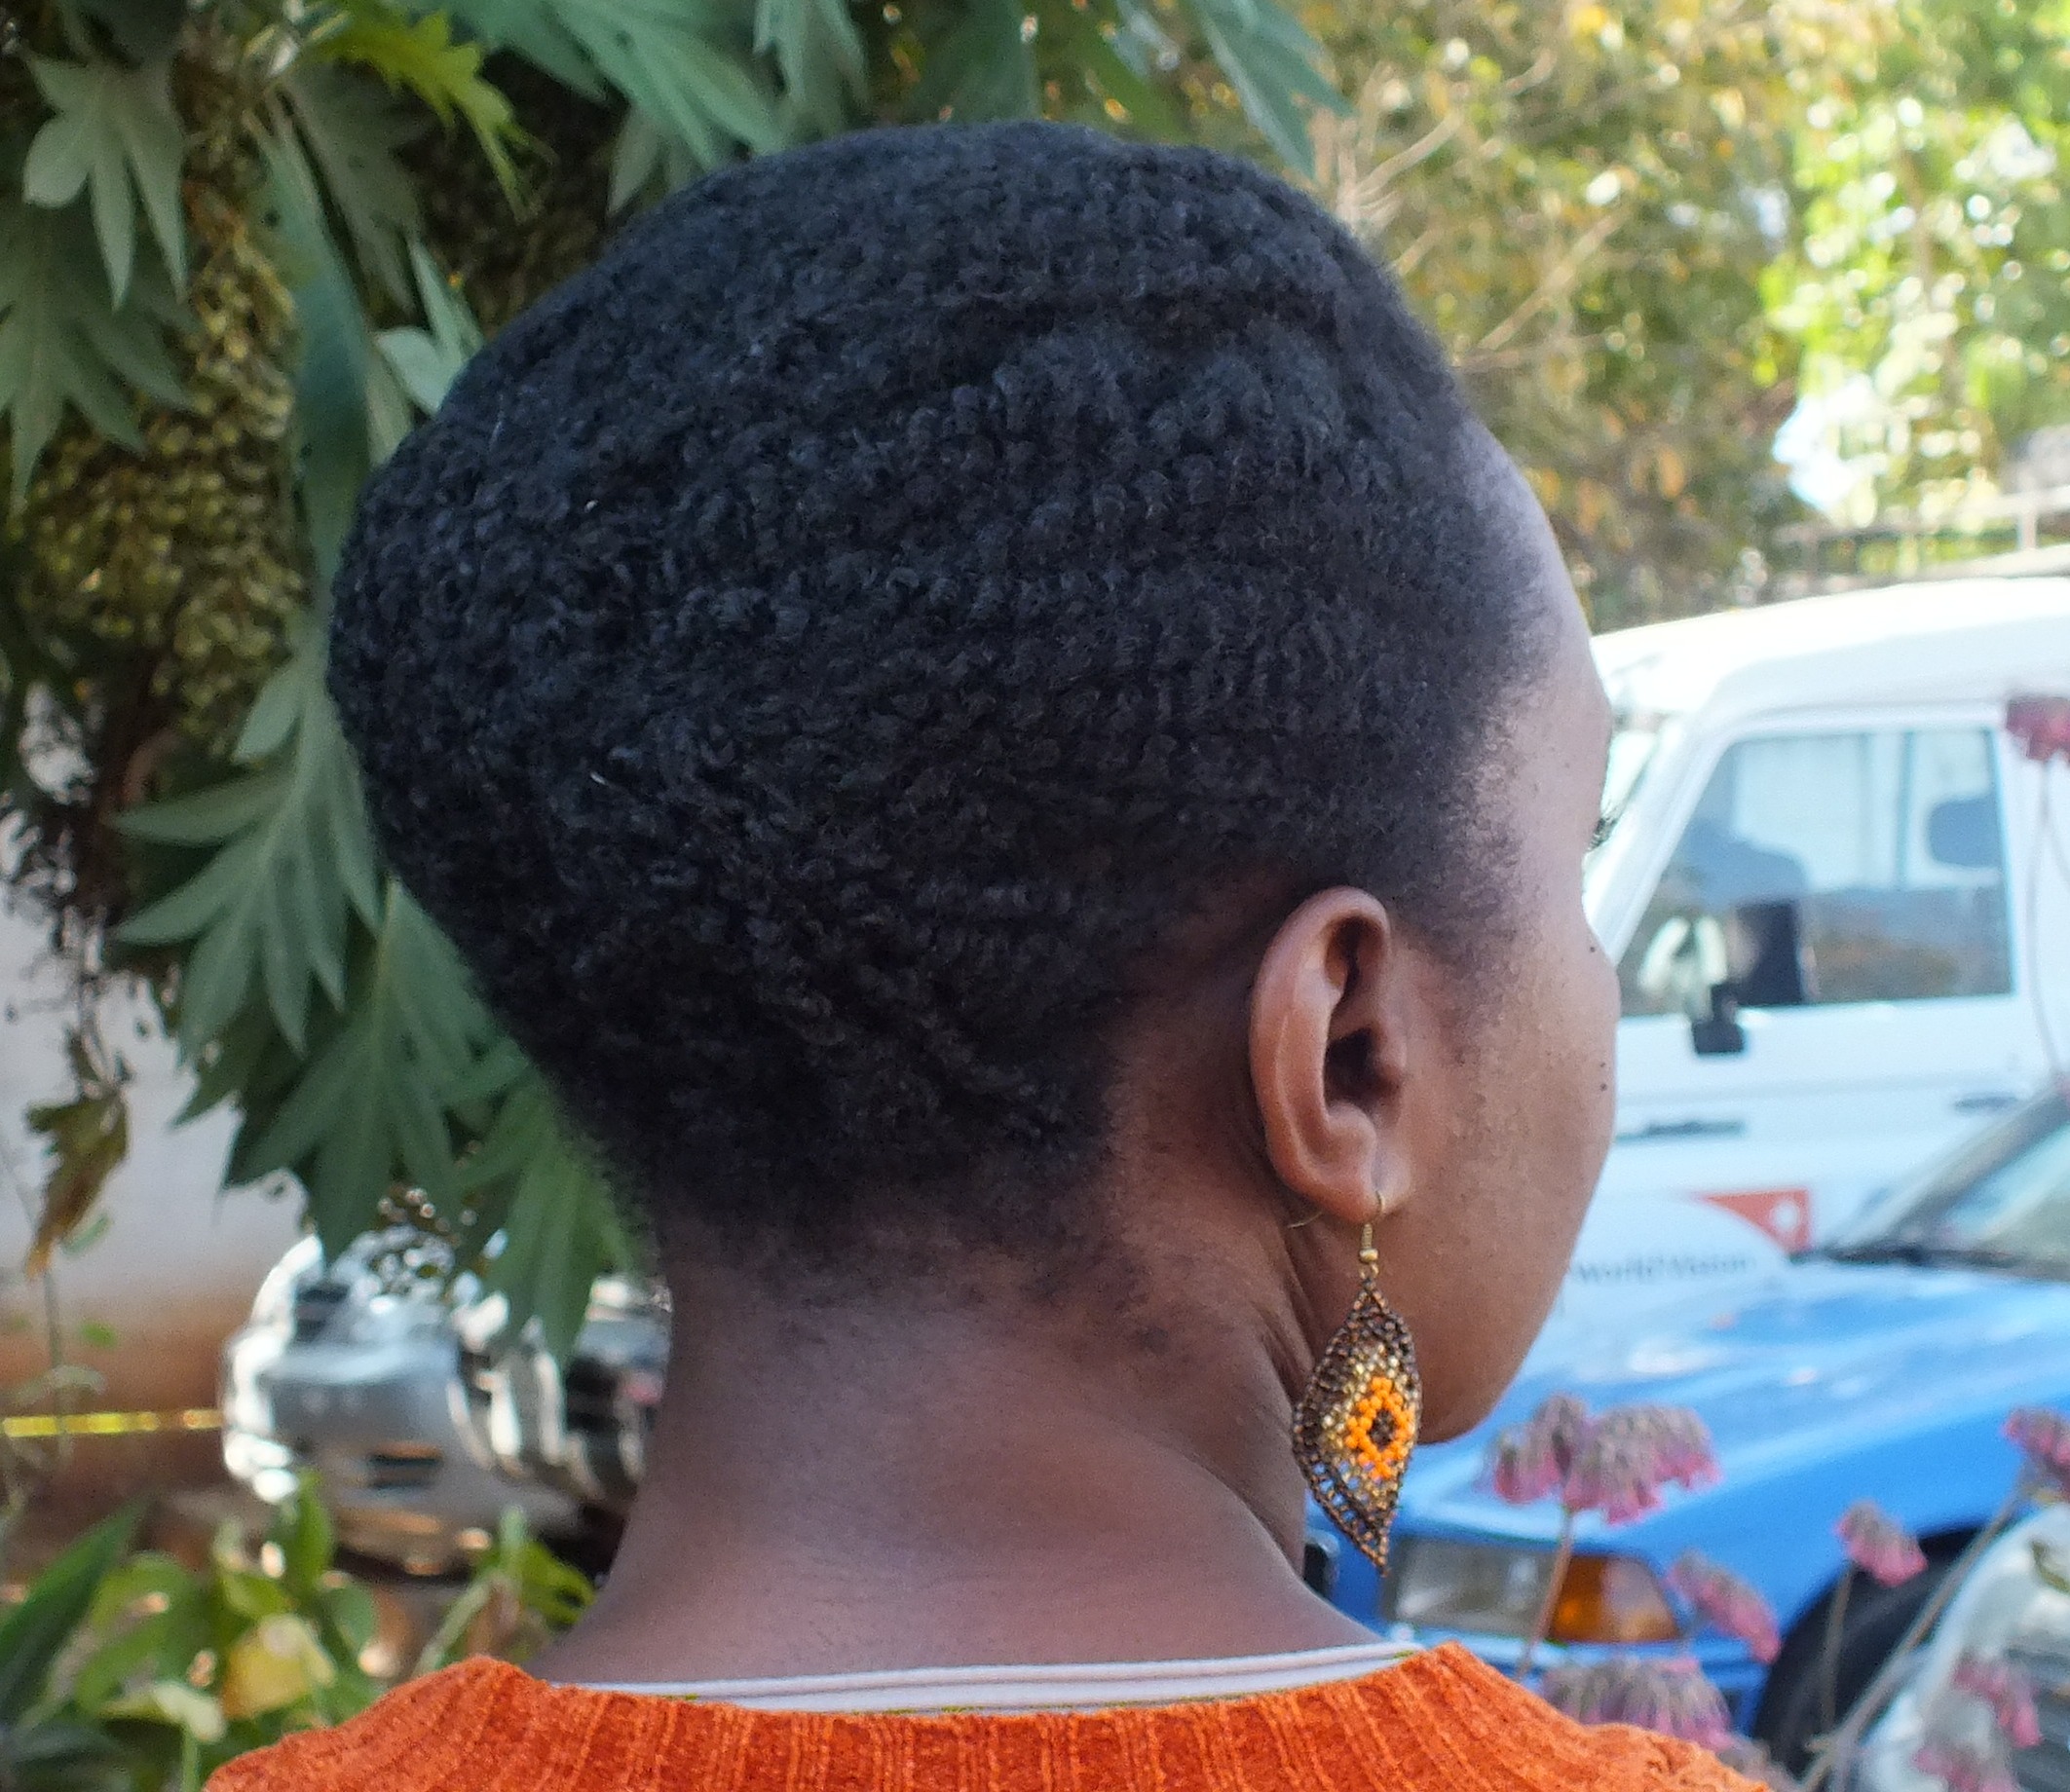
Day 4 – Textured RTP is simplicity at its best. It always looks much more complicated than it actually is.
Day 4 – Textured RTP. This rich textured look is why I love twist out updos

Day 4 – textured RTP I like how you can’t tell what the style is from the front. It’s a surprise
Day 4 – textured up do (top view)
A few tips to create a good twist out
- Make sure that when you install your twists, you do not borrow from one strand to another. If you do, the hair will tangle and frizz. What this means is that if part way down you realise one of the two strands is significantly larger or smaller, don’t take a bit from the big one and add it to the smaller one. Either carry on and leave it like that or go back and undo it, starting over.
- Also try and ensure that your hair is well moisturised. This is why I try to spritz, seal and baggy before I plan to take down the twists. Dry twists are difficult to take down, are likely to result in breakage and will be dry and frizzy looking.
- As mentioned last time, the longer you keep the twists in, the greater the definition and the longer that definition will last.
- Medium twists tend to create the best lasting twist outs. If the twists are too small, you don’t get to see the definition very well. If they are too big, it looks good at first, but the definition doesn’t last as long.
- With appropriate care, a twist out can last a whole week. Towards the end you employ many of the same rescue tactics as with TSTs such as updos and accessories.

Day 4 – Textured RTP

Day 3 – Twist out side do
15 Days, 15 Styles – Day 3 & 4
Read the introductory post to this series here. Read styles for Day 1 & 2 here.

Very nice girl!
Smiles!!!
LikeLiked by 1 person
Thanks
LikeLiked by 1 person
You are most welcome dear 😀
Smiles!!!
LikeLike